• Home
  • About
Menu

Brooke Lark

2525 South 1500 East
Salt Lake City, UT, 84106
Phone Number
Storyteller.

Your Custom Text Here

Brooke Lark

  • Home
  • About
the blog ck.jpg

Blog

The Only 2 Photo Edits You Ever Need to Make

December 9, 2015 Brooke Lark

Here's a secret: I don't always take perfect photos. The exposure is oftentimes off. The lighting uneven. Sometimes the color comes out looking weird, yellowy and downright wonky.

Though a vital part of capturing gorgeous food photos comes in the actual capturing of the photo, post-processing or editing is just as important and snapping the right shot.

Editing is a whole artform unto itself. I know some photographers who love that part, others who dread it. For me, I don't mind it much at all, because I've learned two quick little tricks in Photoshop that take the time-consuming trudge out of the editing process. In fact, these two little setting changes are the ONLY edits I make to most of my photos when using Photoshop. My primary editing software is Lightroom, so I'm not in Photoshop much anymore. But when I am? Well, here's how I go from wham to bam.


Couldn't quite tell the difference between the edited and unedited photo in the video above? Here's a side-by-shot shot comparison.

Gorgeous, isn't it? Boosting the whites and adding a little soft light makes photos simply POP. 

In the video above, I mentioned that these edits are ideal for photos shot on white. Let me add to that a little.

By boosting your whites and adding color pow with the "soft light" filter, these two setting edits are ideal for ANY photo. 

Tried This Technique?

If you gave this trick a whirl, I'd LOVE to see the results. Upload a before & after shot to Instagram or Facebook, and tag me in it. (You can find where I am on each of the social channels here). Or tweet a shot to me @cheekykitchen. I can't wait to see how this easy tip worked for you!

In Business Tags food photography
Comment

Marly of Chopped Podcast Asked Me to Spill Big Secrets. I Totally Did.

December 2, 2015 Brooke Lark

I recently sat down with Marly McMillen for her brilliant podcast, Chopped. Bringing together some of the brightest voices in Food Blogging, her show offers an inside glance at top-notch talent. It was a pleasure to talk shop with her. 

If you've ever wanted to build your own online brand, become a blogger or watch the best HBO series in the world, you simply must listen to this episode of Chopped. 

Chopped Podcast.jpg

Here are some of the highlights, we discuss:

  • How I started my blog
  • How my goal when I first started was to make $500/month
  • My philosophy on food photography
  • Why I decided to focus on growing her email list
  • My strategy for tripling my email list in less than a year
  • All about my site redesign
  • Have you ever heard of pivoting? I discuss this and tell you why you don’t have to be stuck with the same mission for your blog
  • My favorite social media platform. It’s a new one.

Discov er all of this and more via Chopped Podcast now.

In Business Tags Media
Comment

5 Essentials for Dark Food Photography

December 2, 2015 Brooke Lark

The only 5 things you need to create a killer dark photography set-up.

Read more
In Business Tags food photography
Comment

Transform Any Photo Into a Holiday Shot Instantly with This Quick Trick

December 2, 2015 Brooke Lark
Blog Header- Holiday Hack.jpg

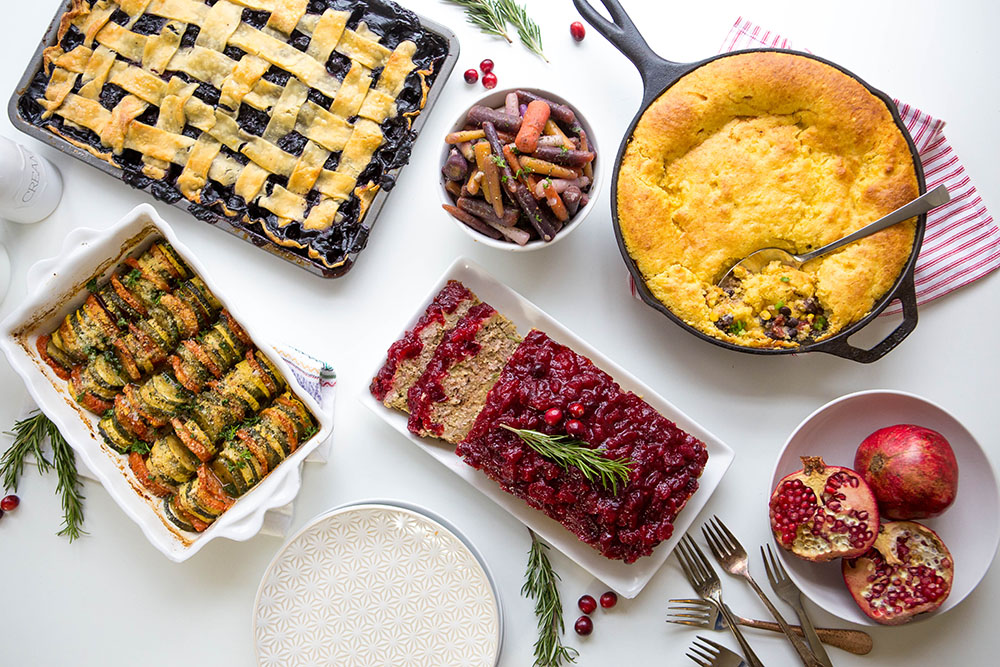
If you were to have a professional prop closet, your entire house would be overtaken with food photography supplies. There's just no way the average food blogger can be expected to have a massive rotation of props fit for each season.

Thankfully, you don't have to store dozens of different holiday plate sets. No need to stock up on Christmas candy for year-round shooting. With two totally simple ingredients, you can turn any photo into a festive holiday shot. Here how.

See This Idea in Action

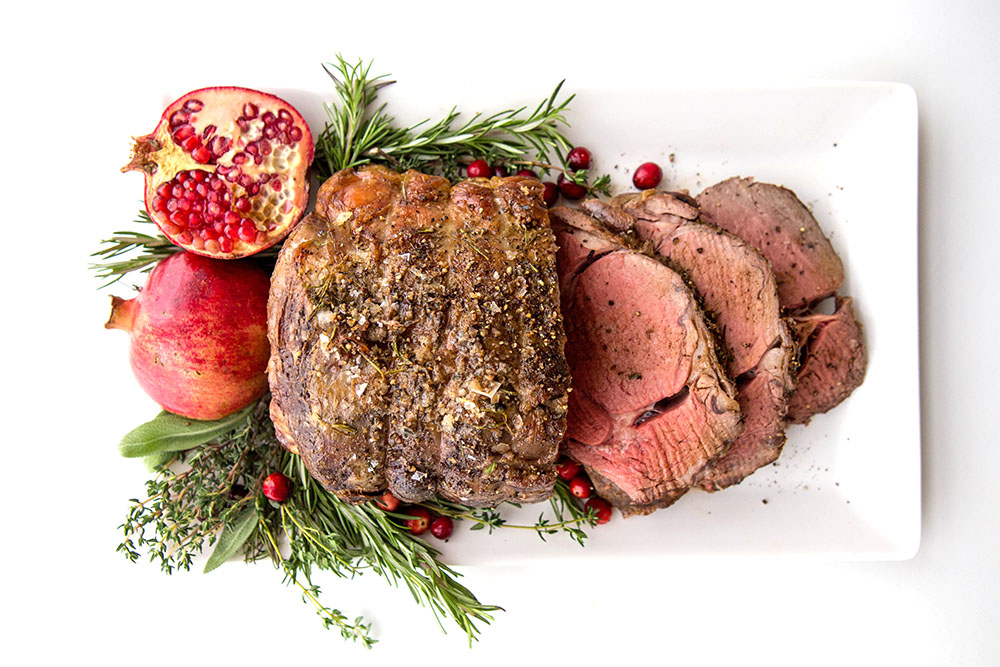
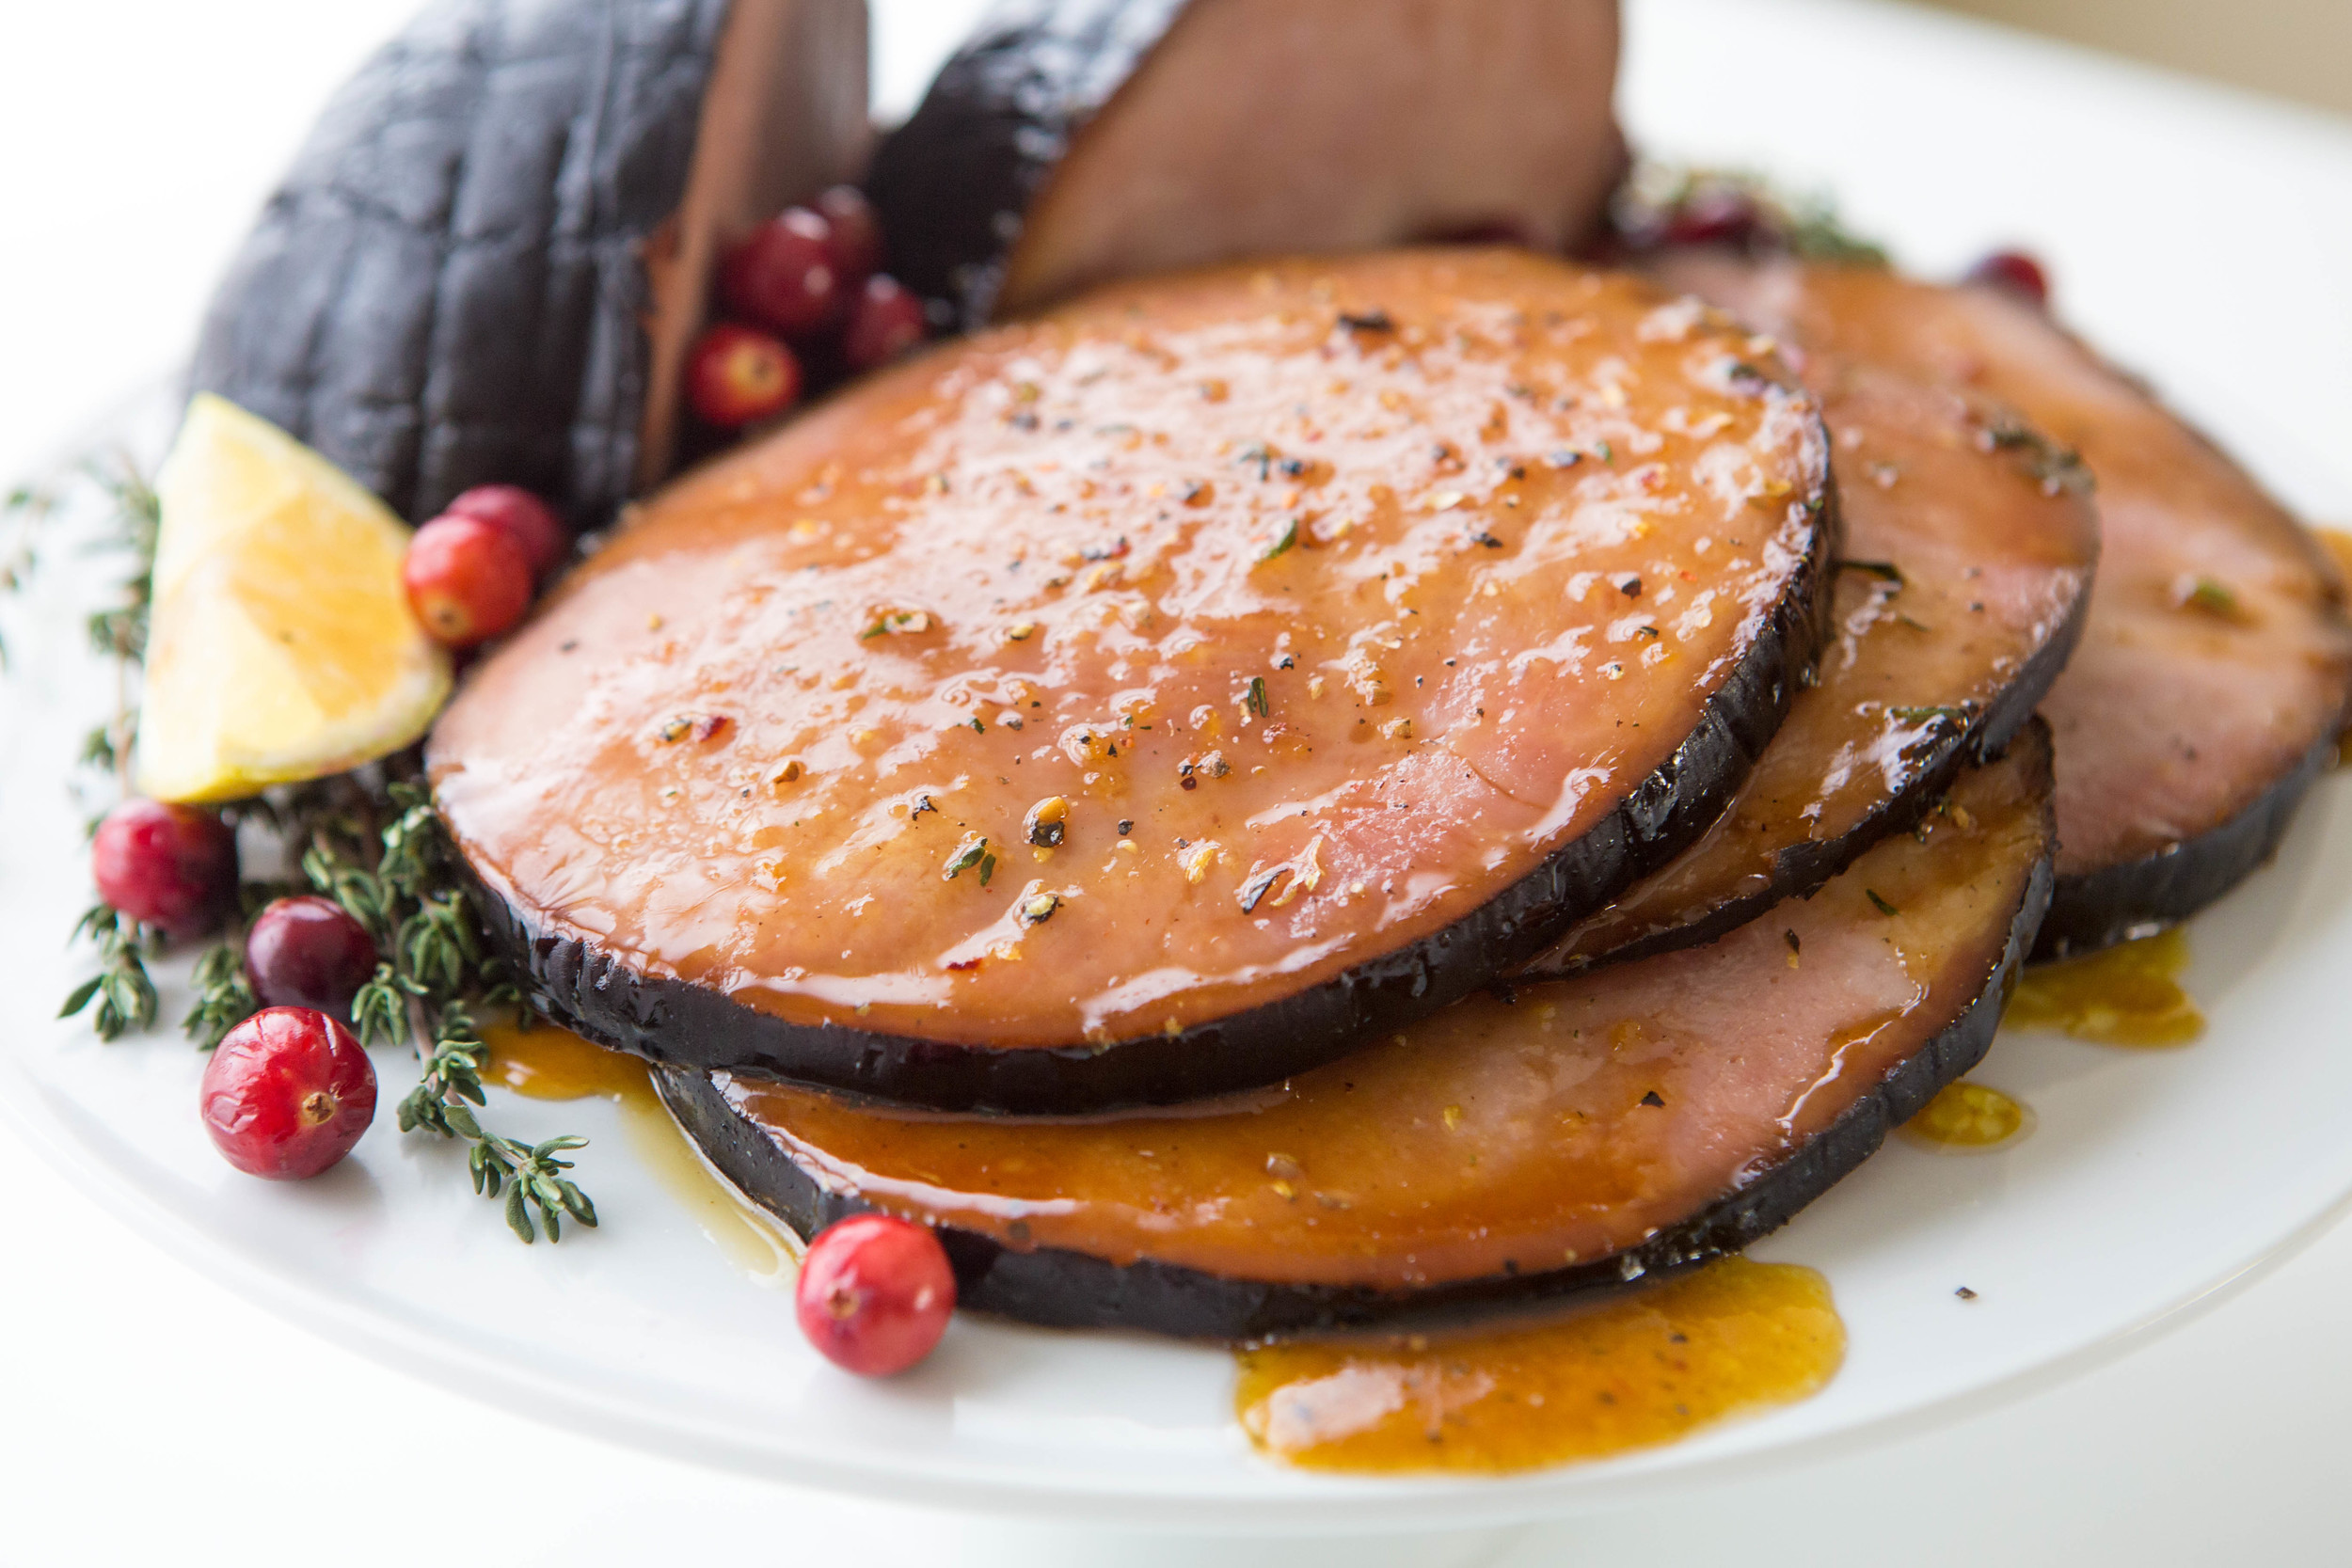
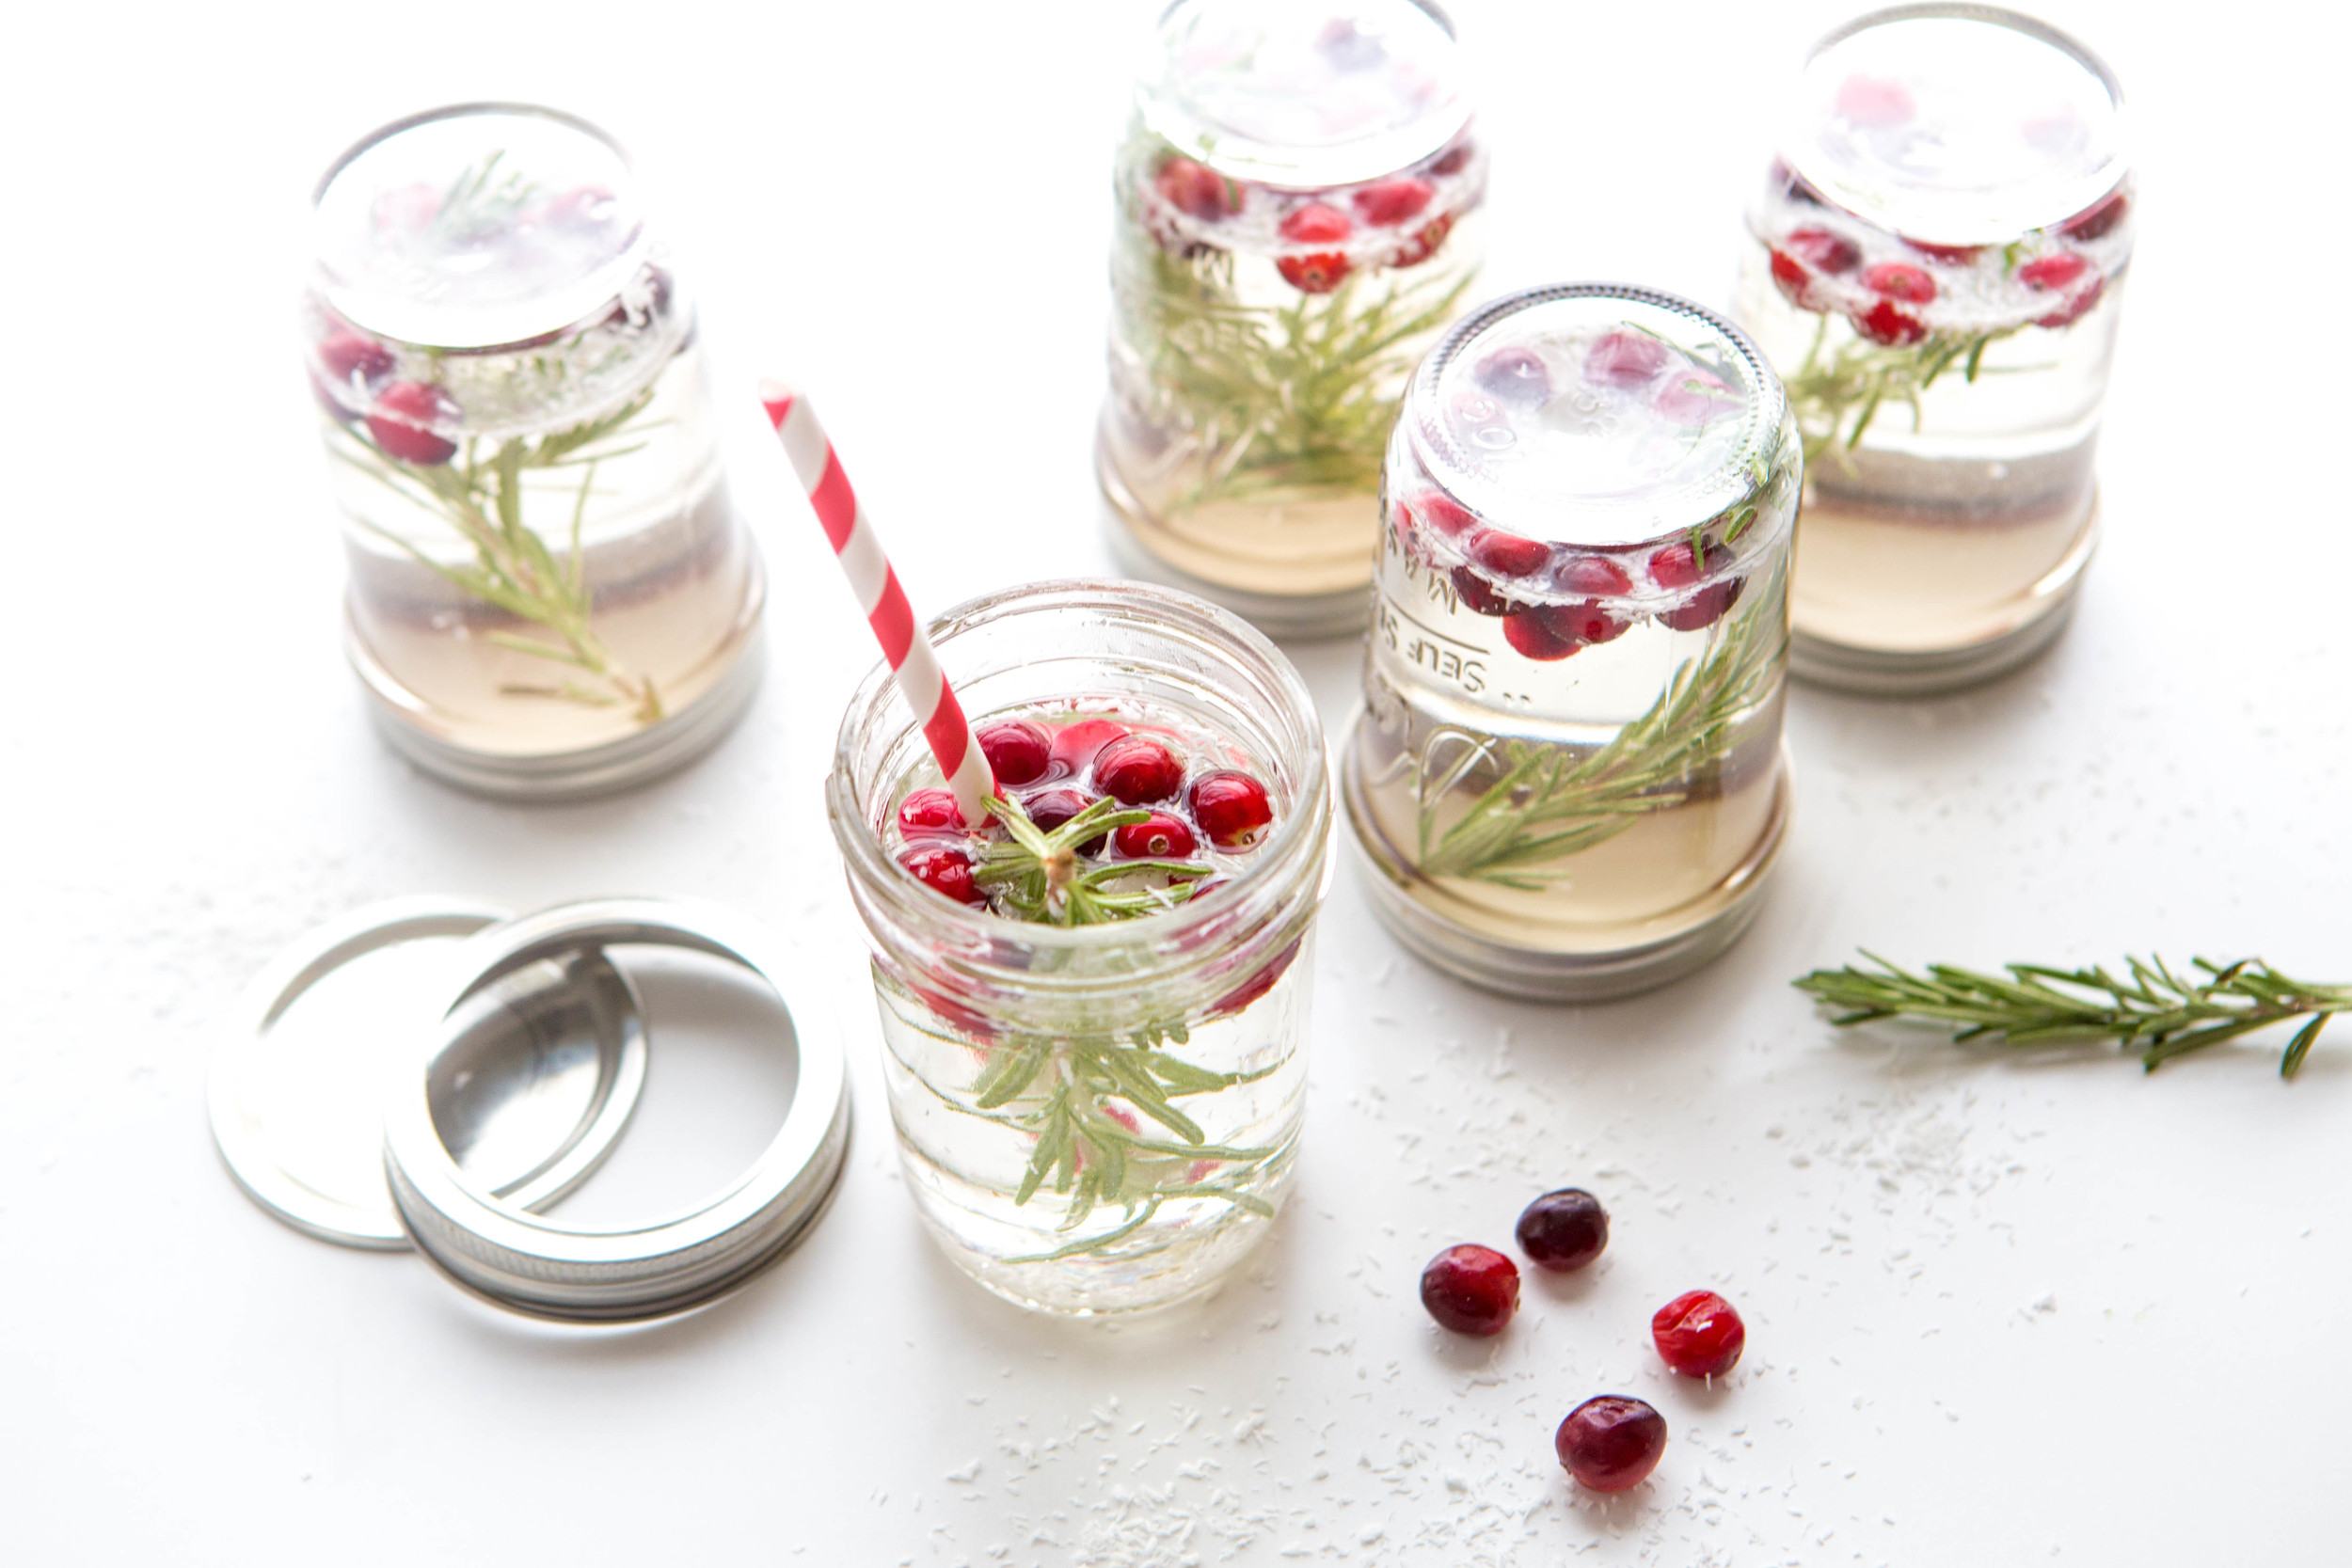
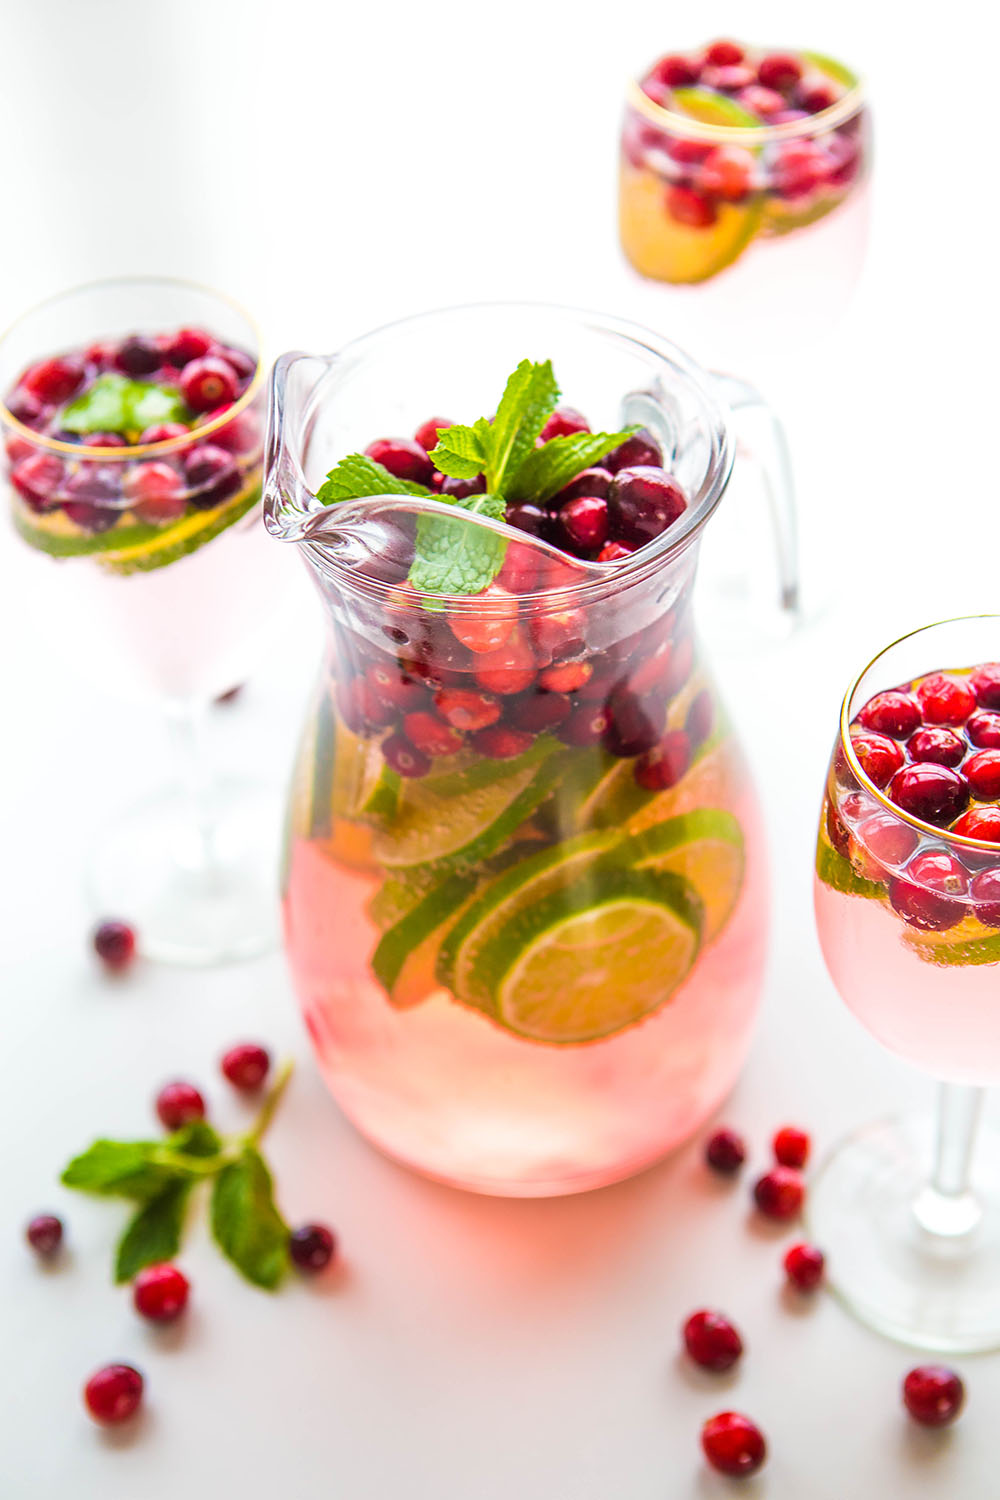
Here are a few shots captured with this simple technique. Marvel over their merriness! Festoon over their festiveness! Then go toss all those piled of special holiday props. And keep it simple with this easy 2-ingredient trick.

2015-12 Christmas Cookie Cocktail- SUGAR COOKIE 1.jpg
Perfect Prime Rib.jpg
2015-12 Egg Nog Final 6.jpg
2015-1160 Minute Holiday HAM 5F.jpg
2015-11 Mistletoe Reshoot Final 2F.jpg
2015-1160 Minute Holiday SANGRIA 1.jpg
2015-11 Holiday Dinner Final 2.jpg
2015-12 Popcorn Balls Final 32.jpg
2015-12 Christmas Cookie Cocktail- SUGAR COOKIE 1.jpg Perfect Prime Rib.jpg 2015-12 Egg Nog Final 6.jpg 2015-1160 Minute Holiday HAM 5F.jpg 2015-11 Mistletoe Reshoot Final 2F.jpg 2015-1160 Minute Holiday SANGRIA 1.jpg 2015-11 Holiday Dinner Final 2.jpg 2015-12 Popcorn Balls Final 32.jpg

Tried This Trick?

Tweet me a shot of your Christmassey creation @cheekykitchen. I can't wait to see how this quick idea works for you!

In Business Tags food photography
Comment

This $20 Color Hack Should be Your First Food Photography Setup

December 2, 2015 Brooke Lark

If you want to upgrade your food photography game, it's worth investing in a few essentials. A decent dSLR camera and top-notch lenses are worth the price. But shelling out big cash for photography backgrounds? Not so much. 

Though dozens of specialized businesses now sell backgrounds for blogging (with most starting at $100 a pop), I've never needed to shell out big bucks for photography backdrops. And I don't recommend that beginning food bloggers do, either.

Whether you're just getting started as a food blogger, or are a seasoned pro looking for a fresh way to shoot, this simple $20 hack has made it easy to create some of the best images of my career. 

Join me in the studio and discover this secret now.

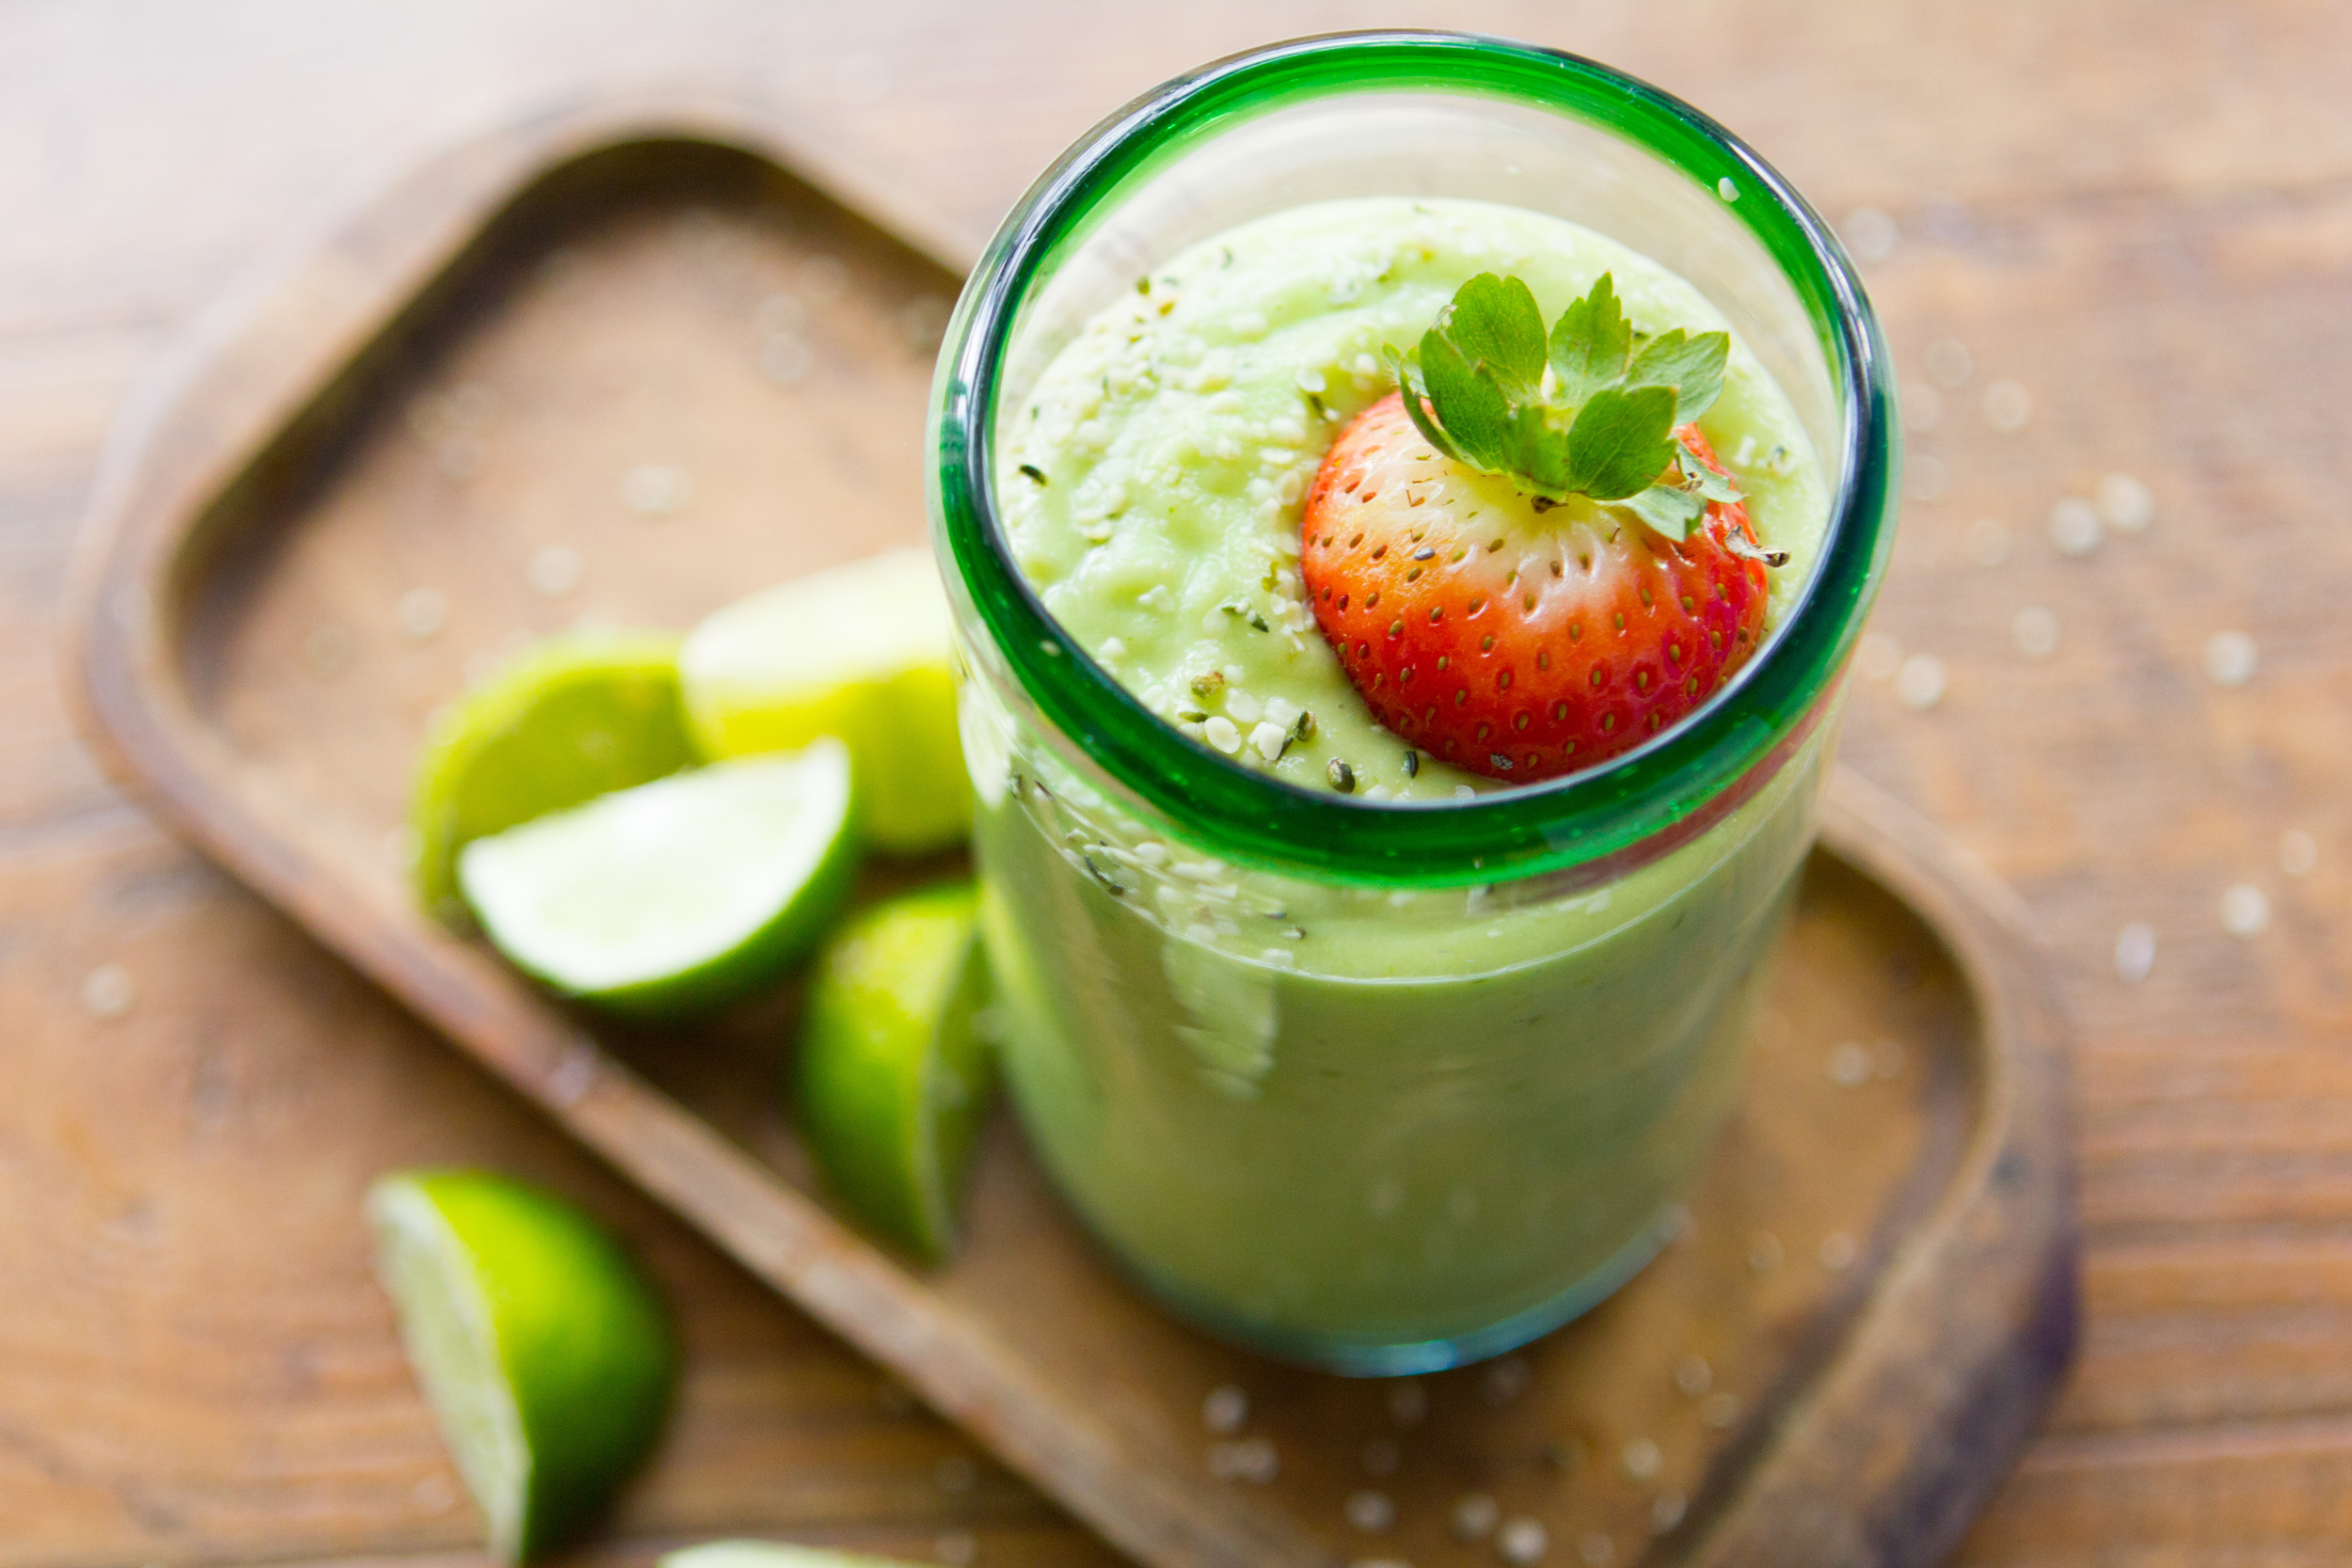
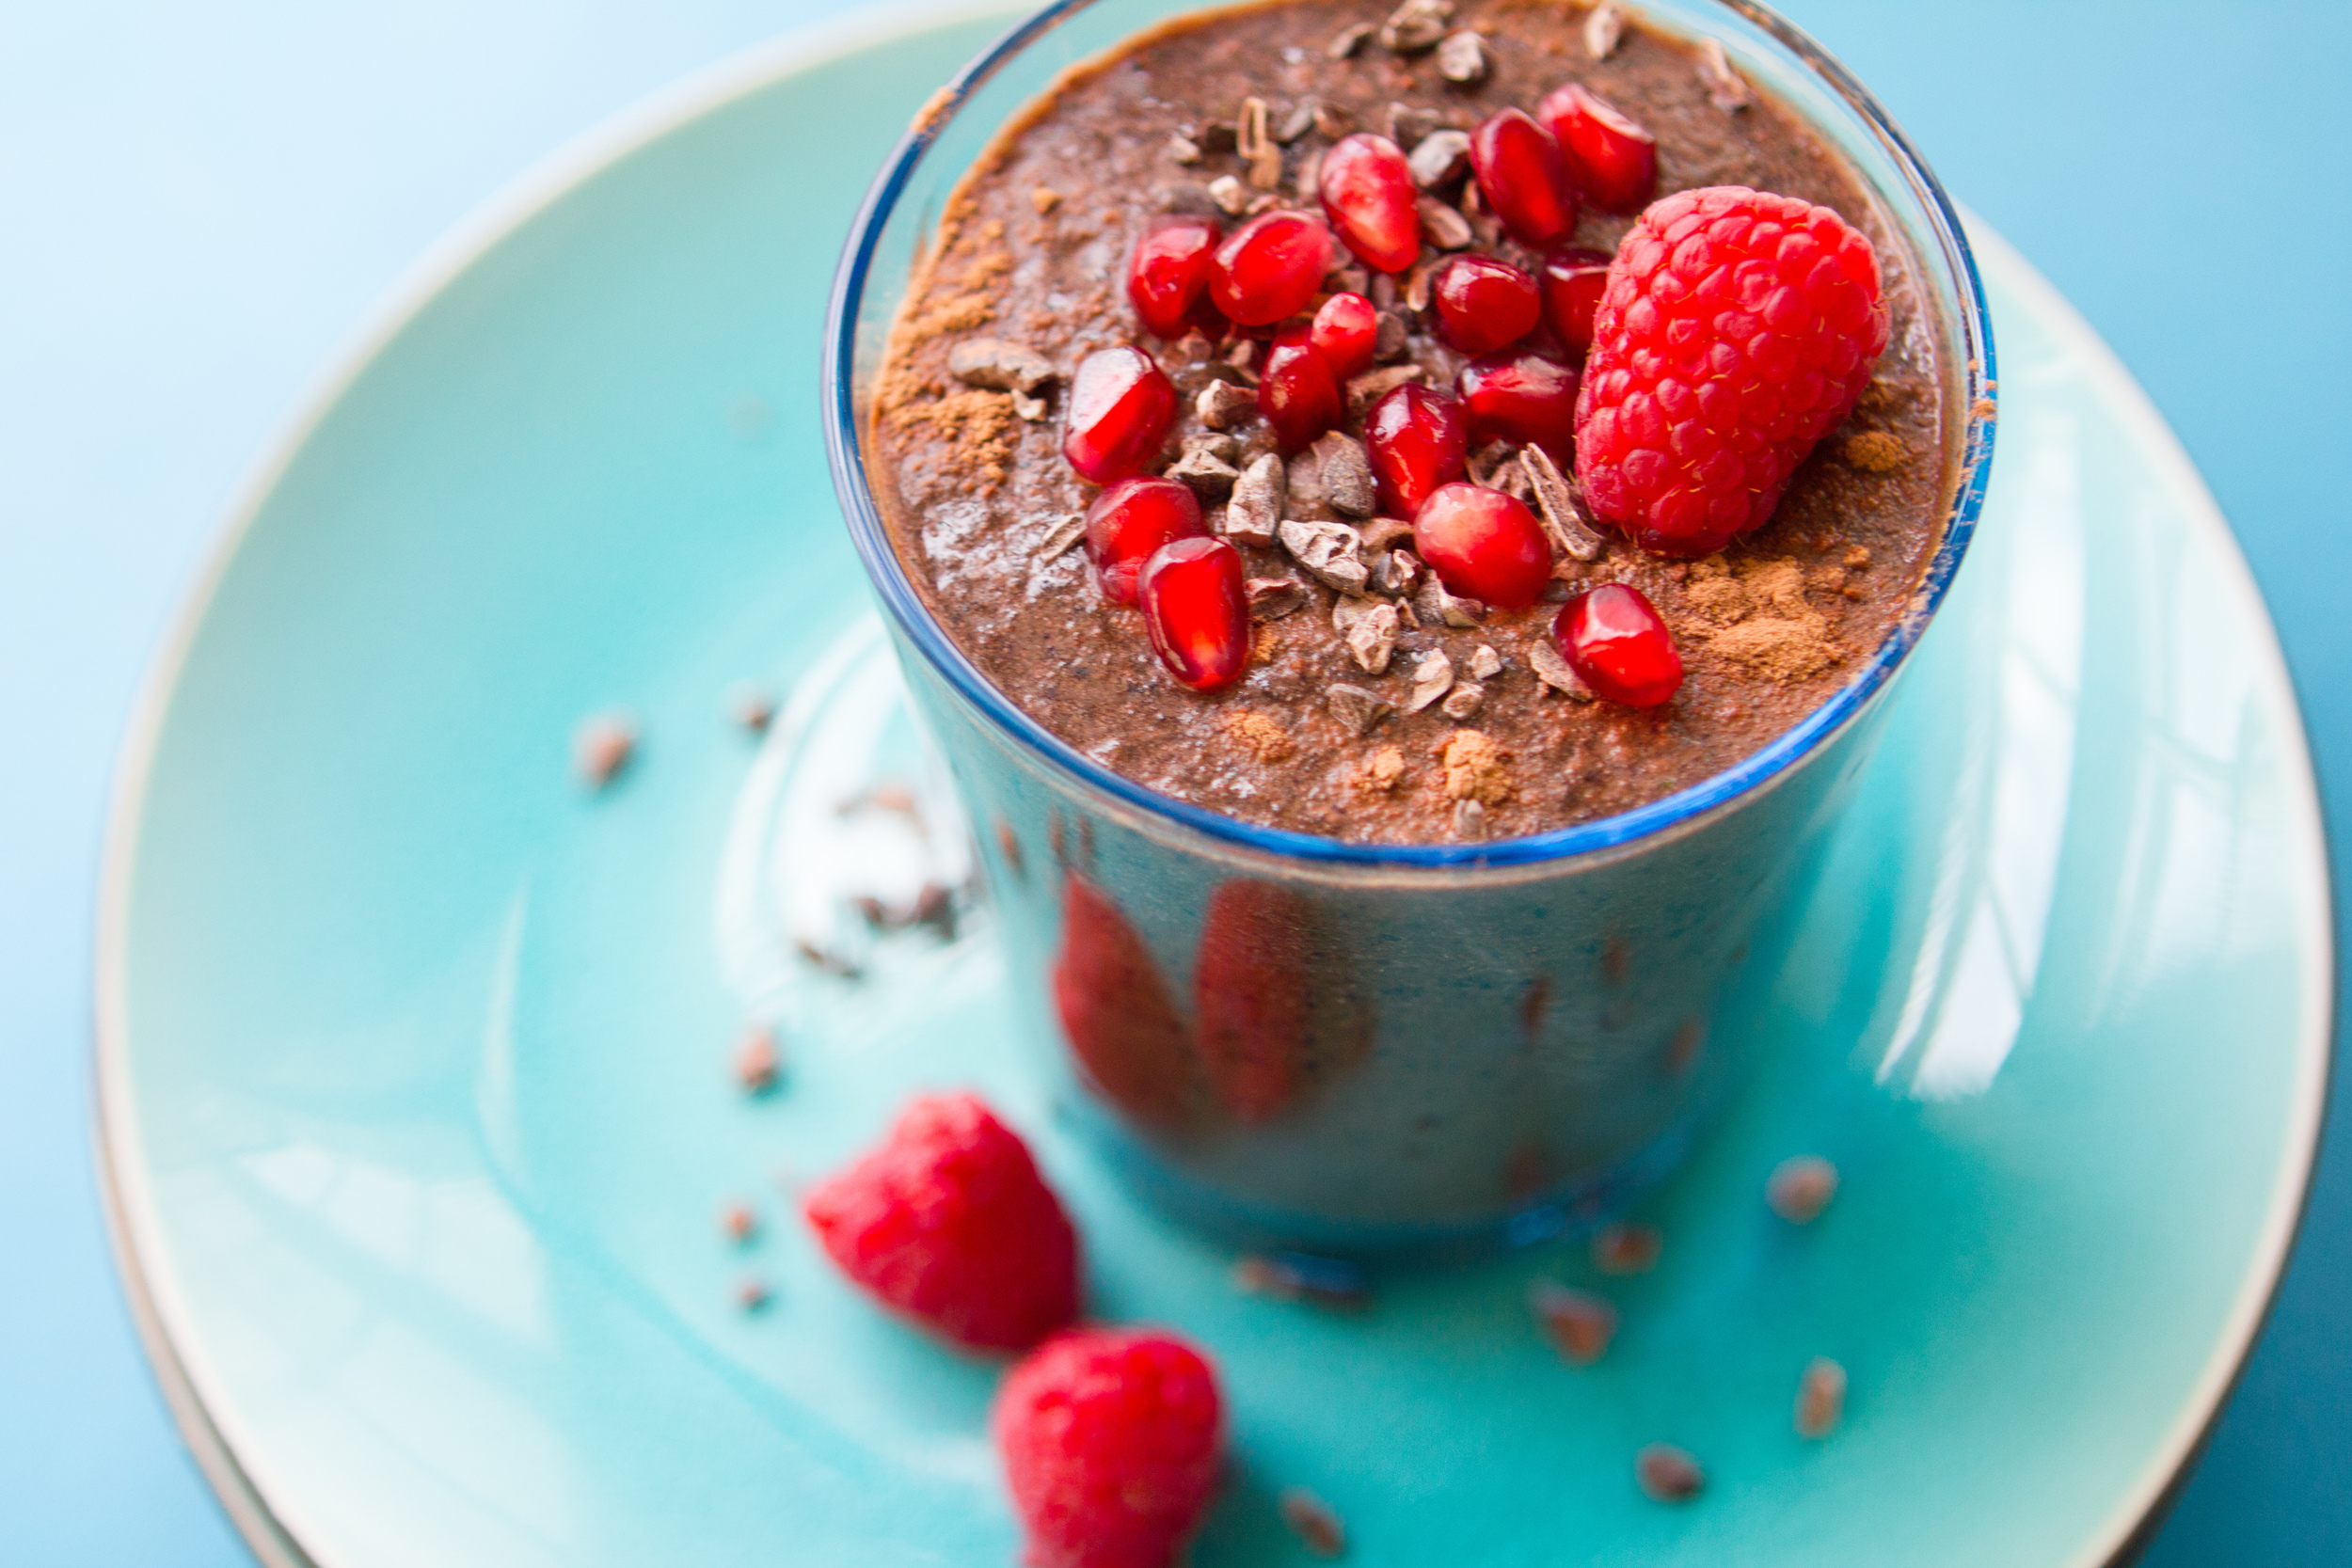
Photos Shot with This SetUp

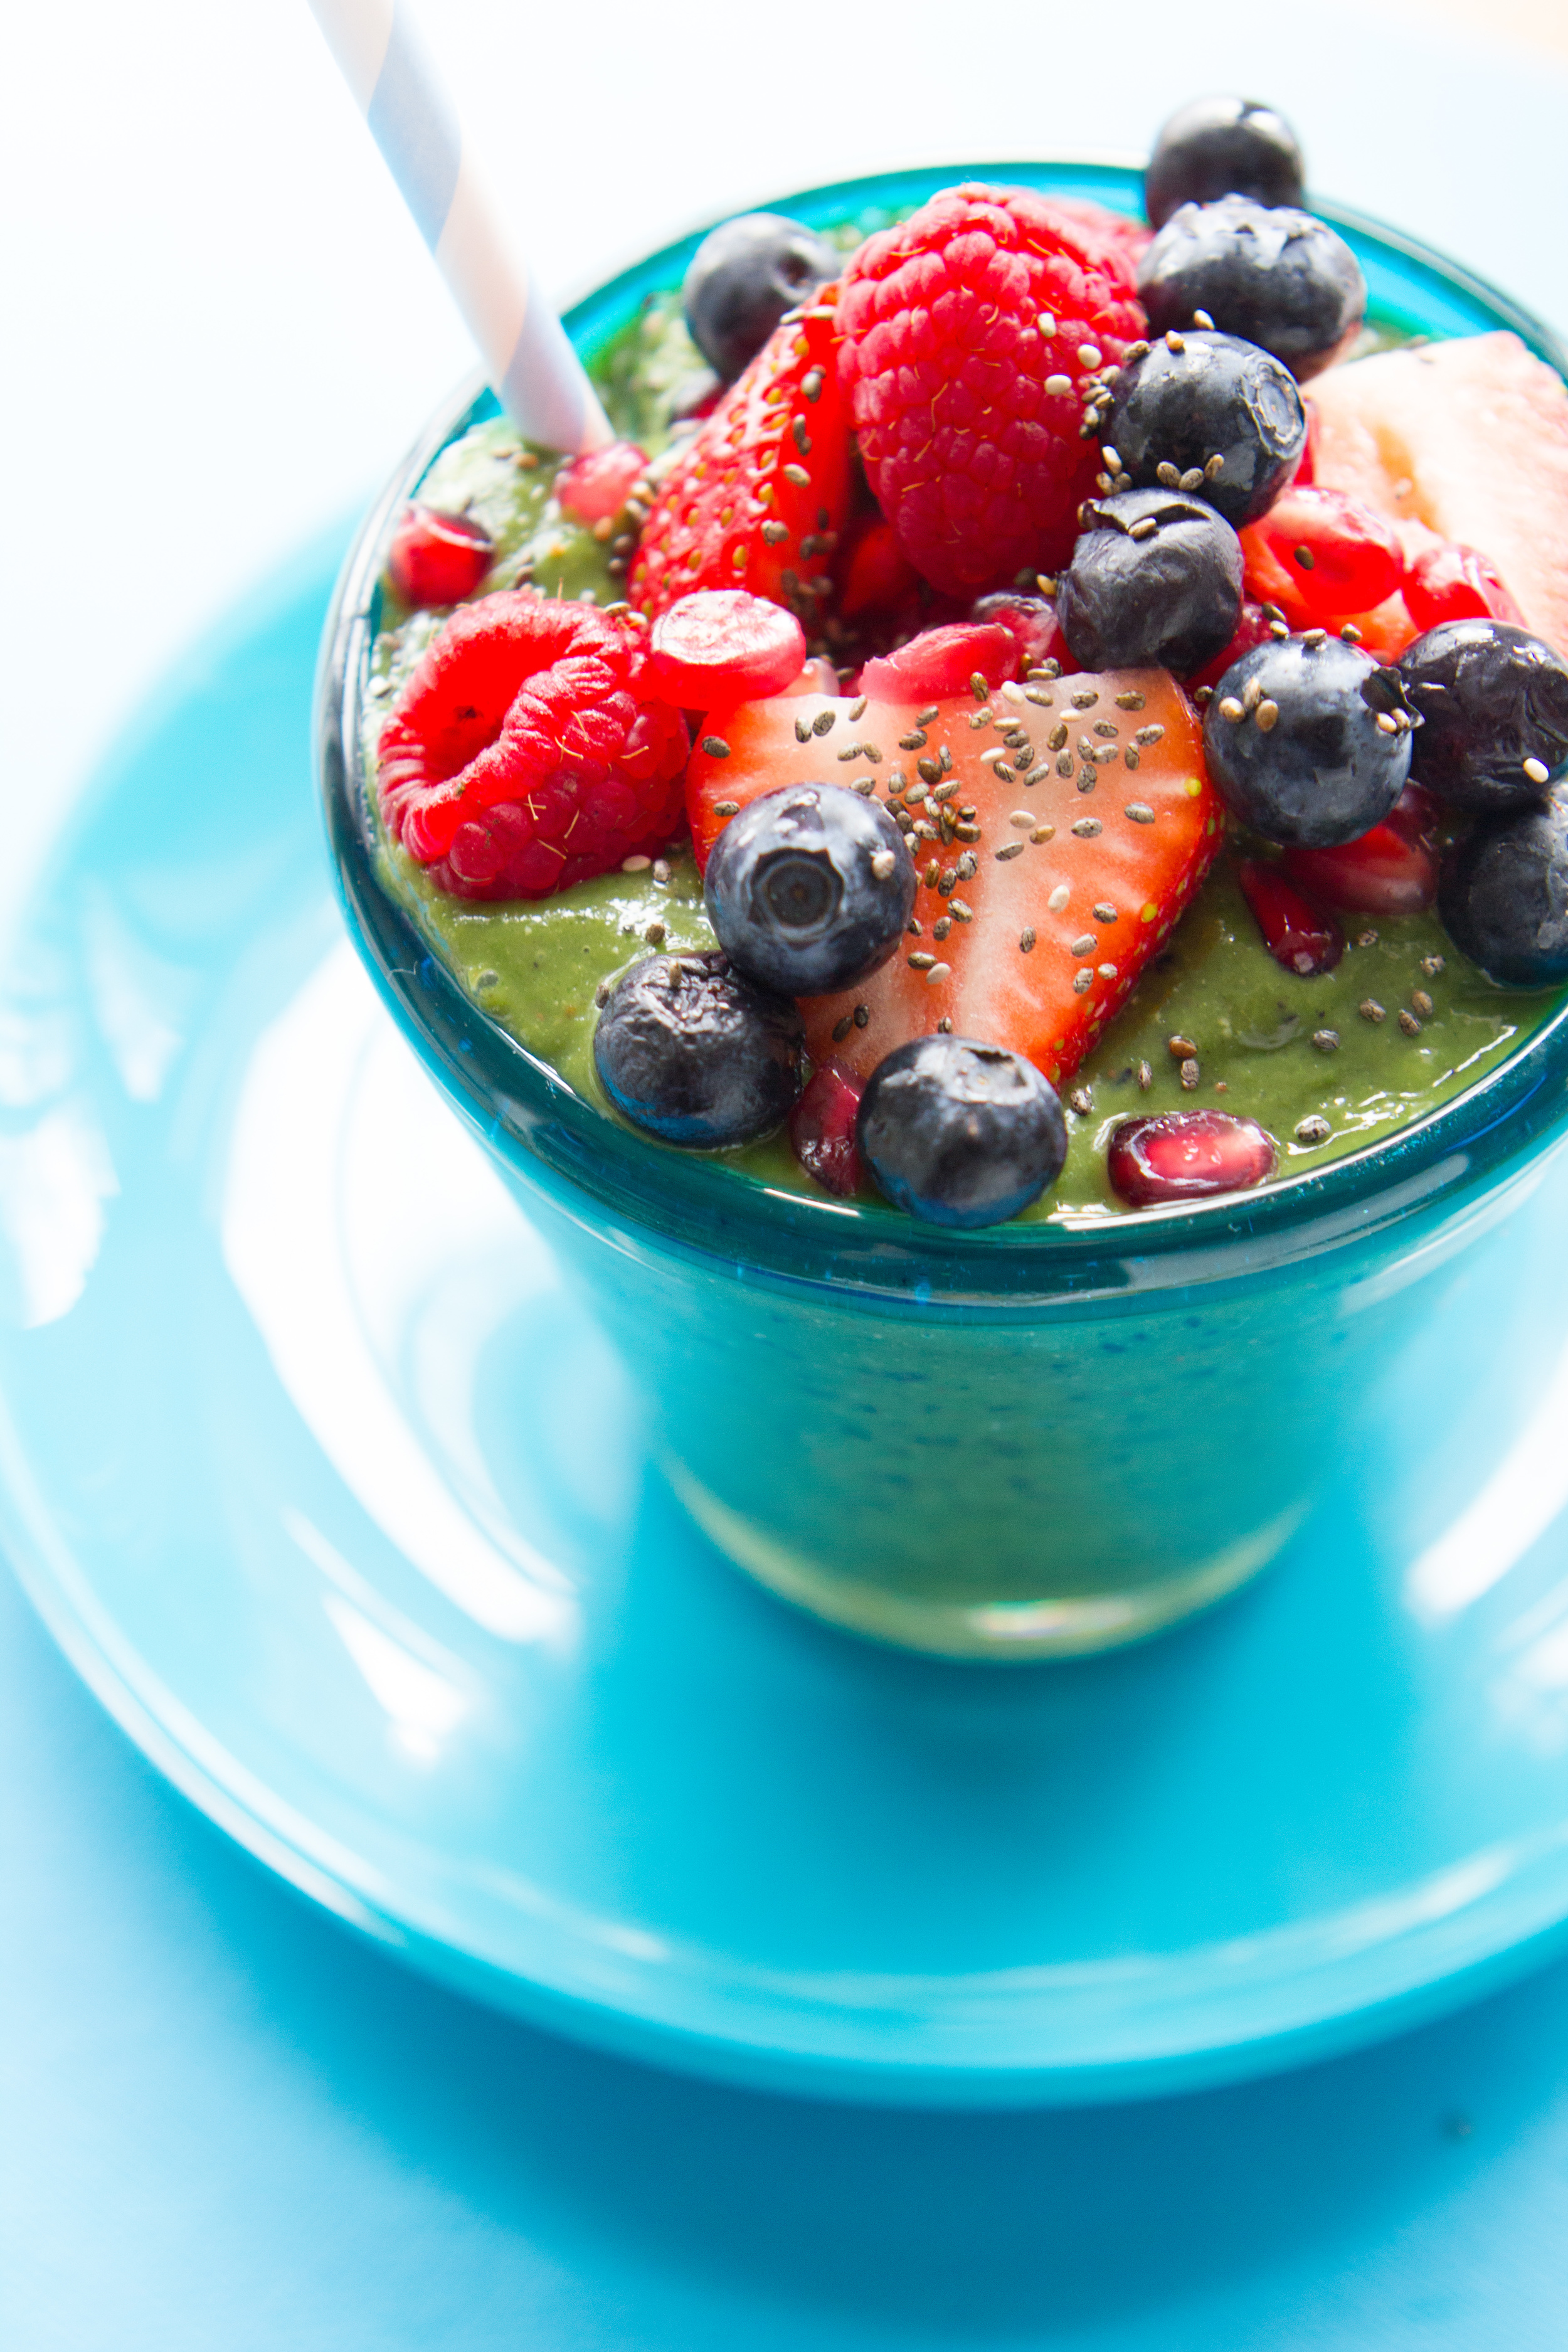
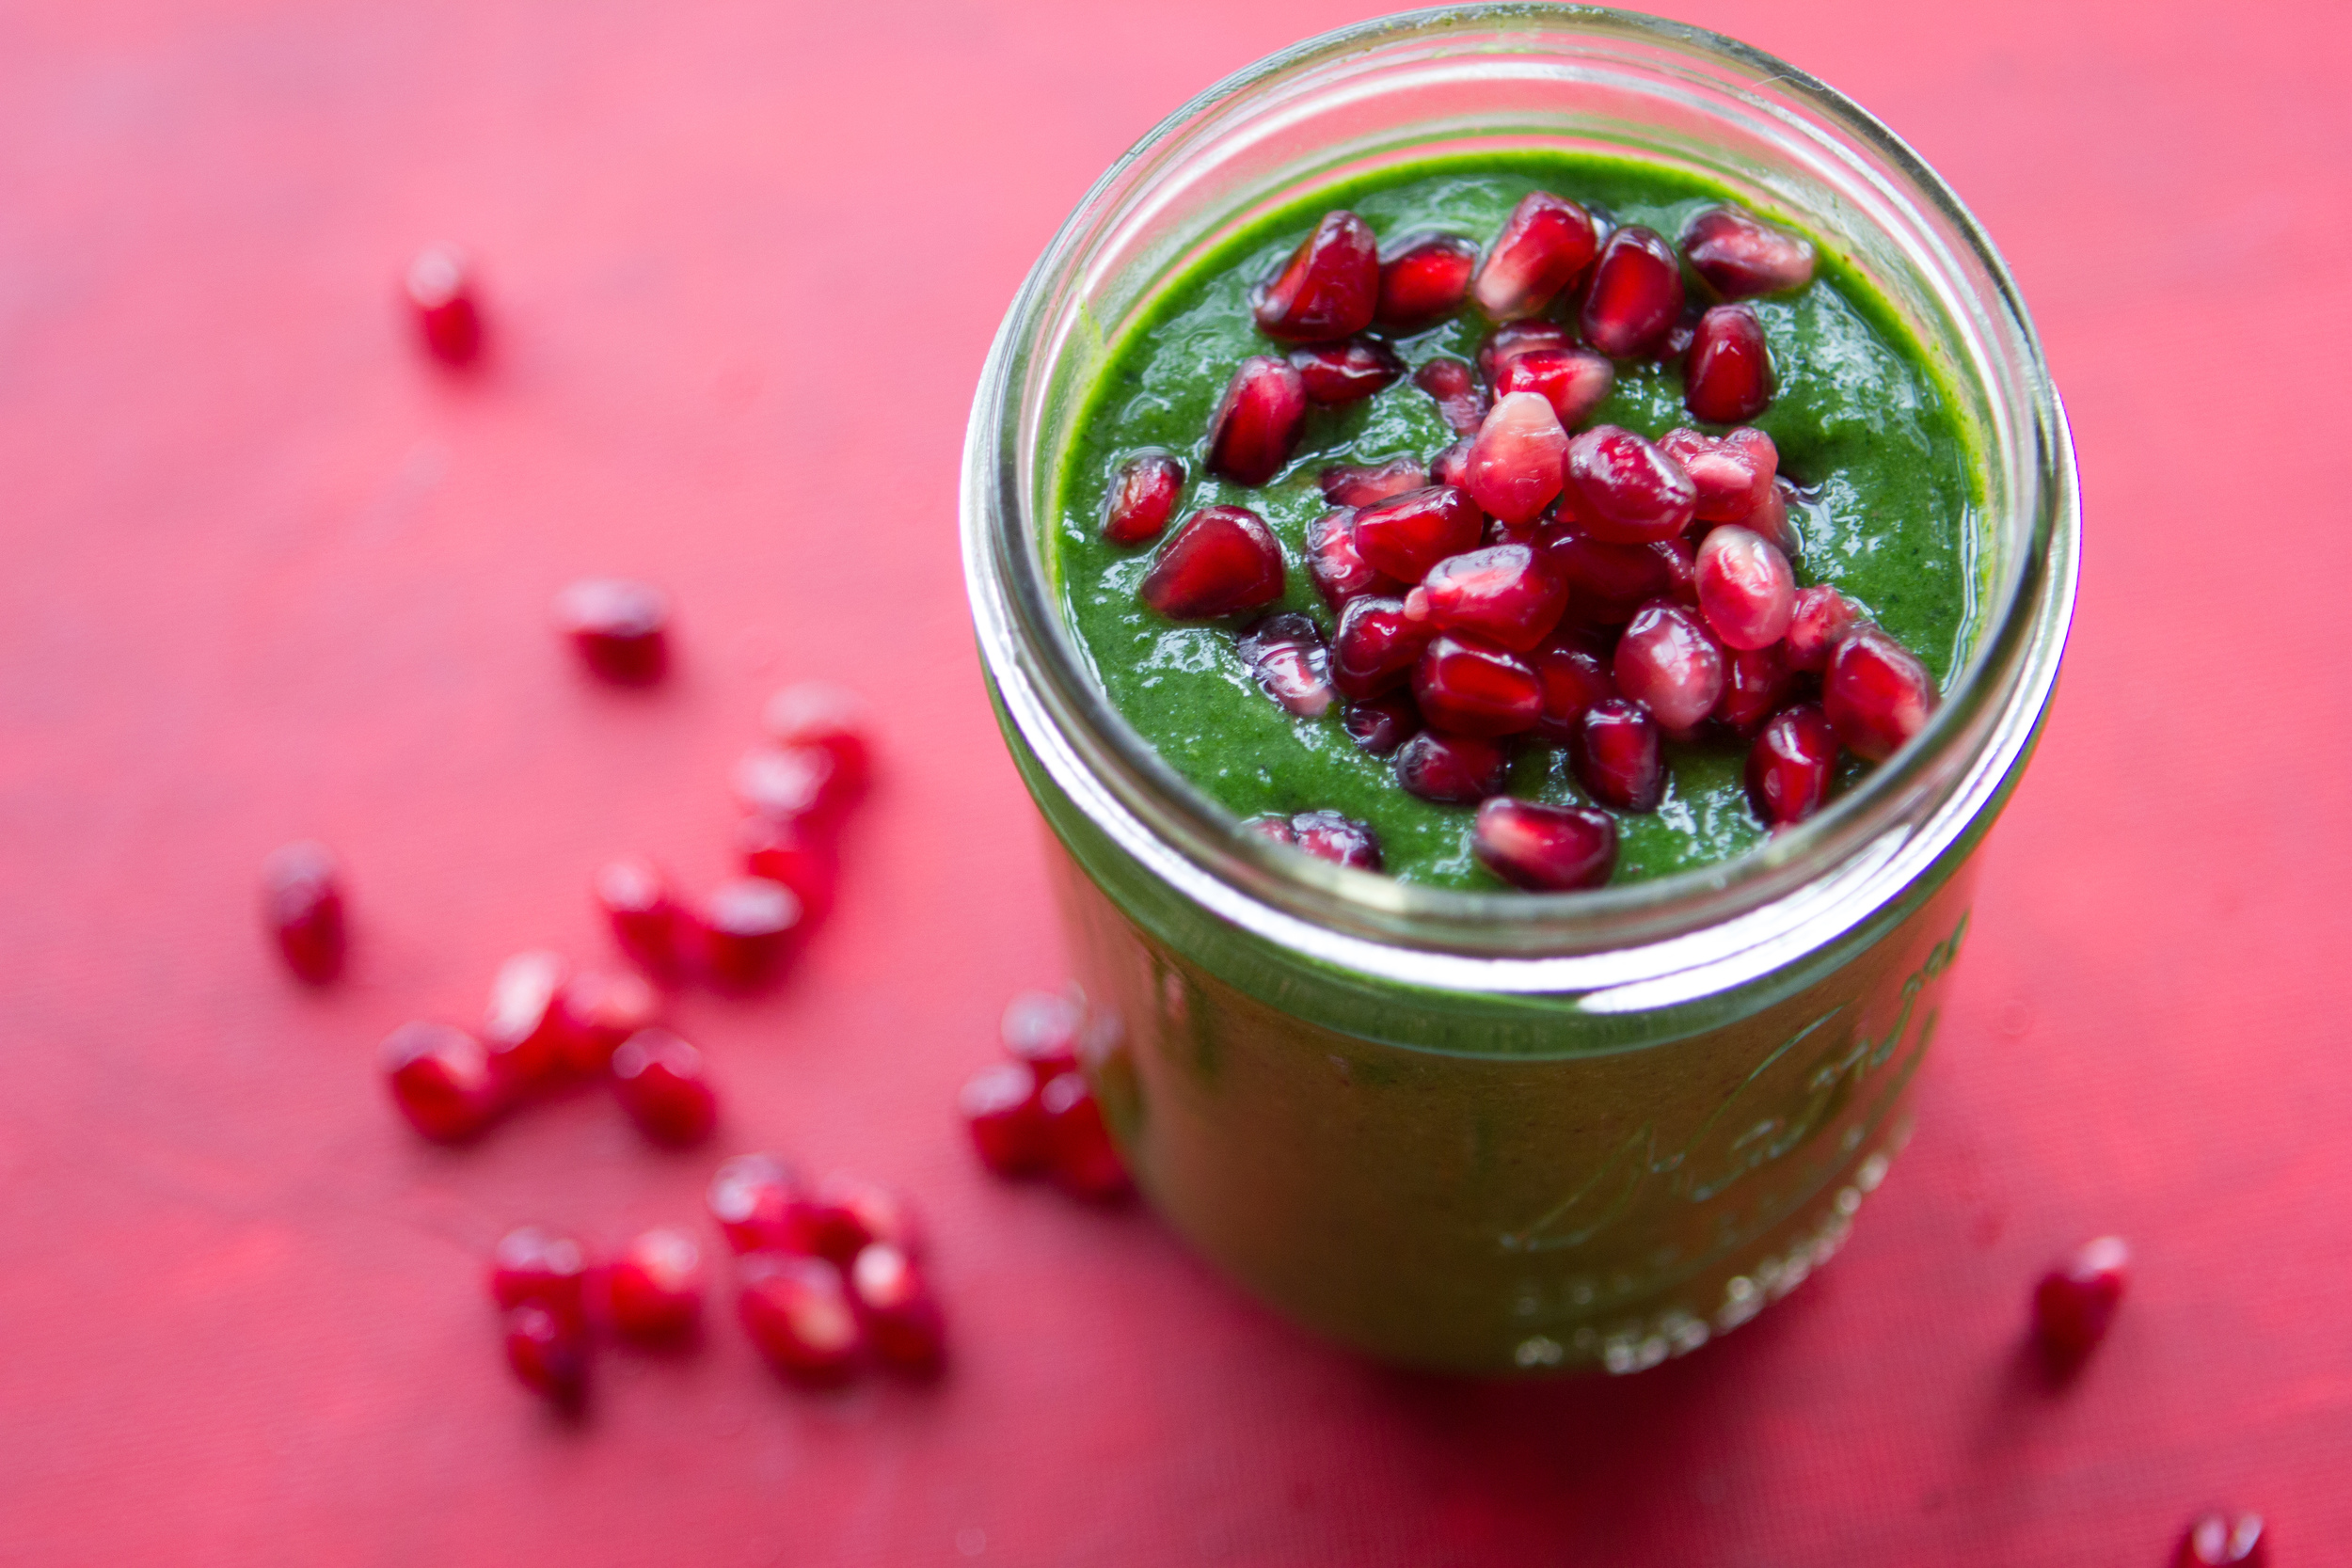
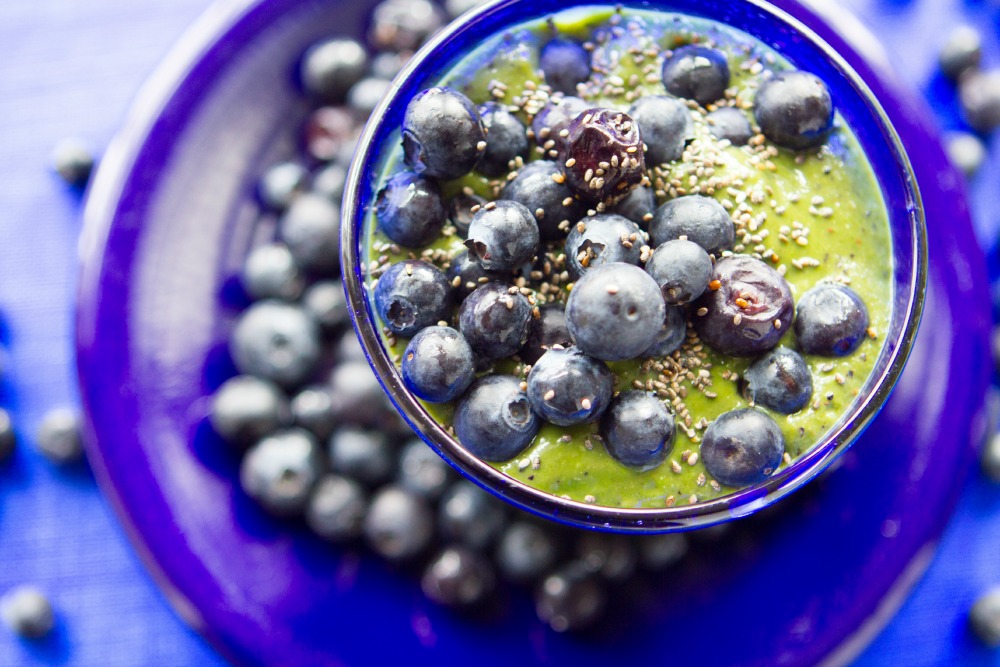
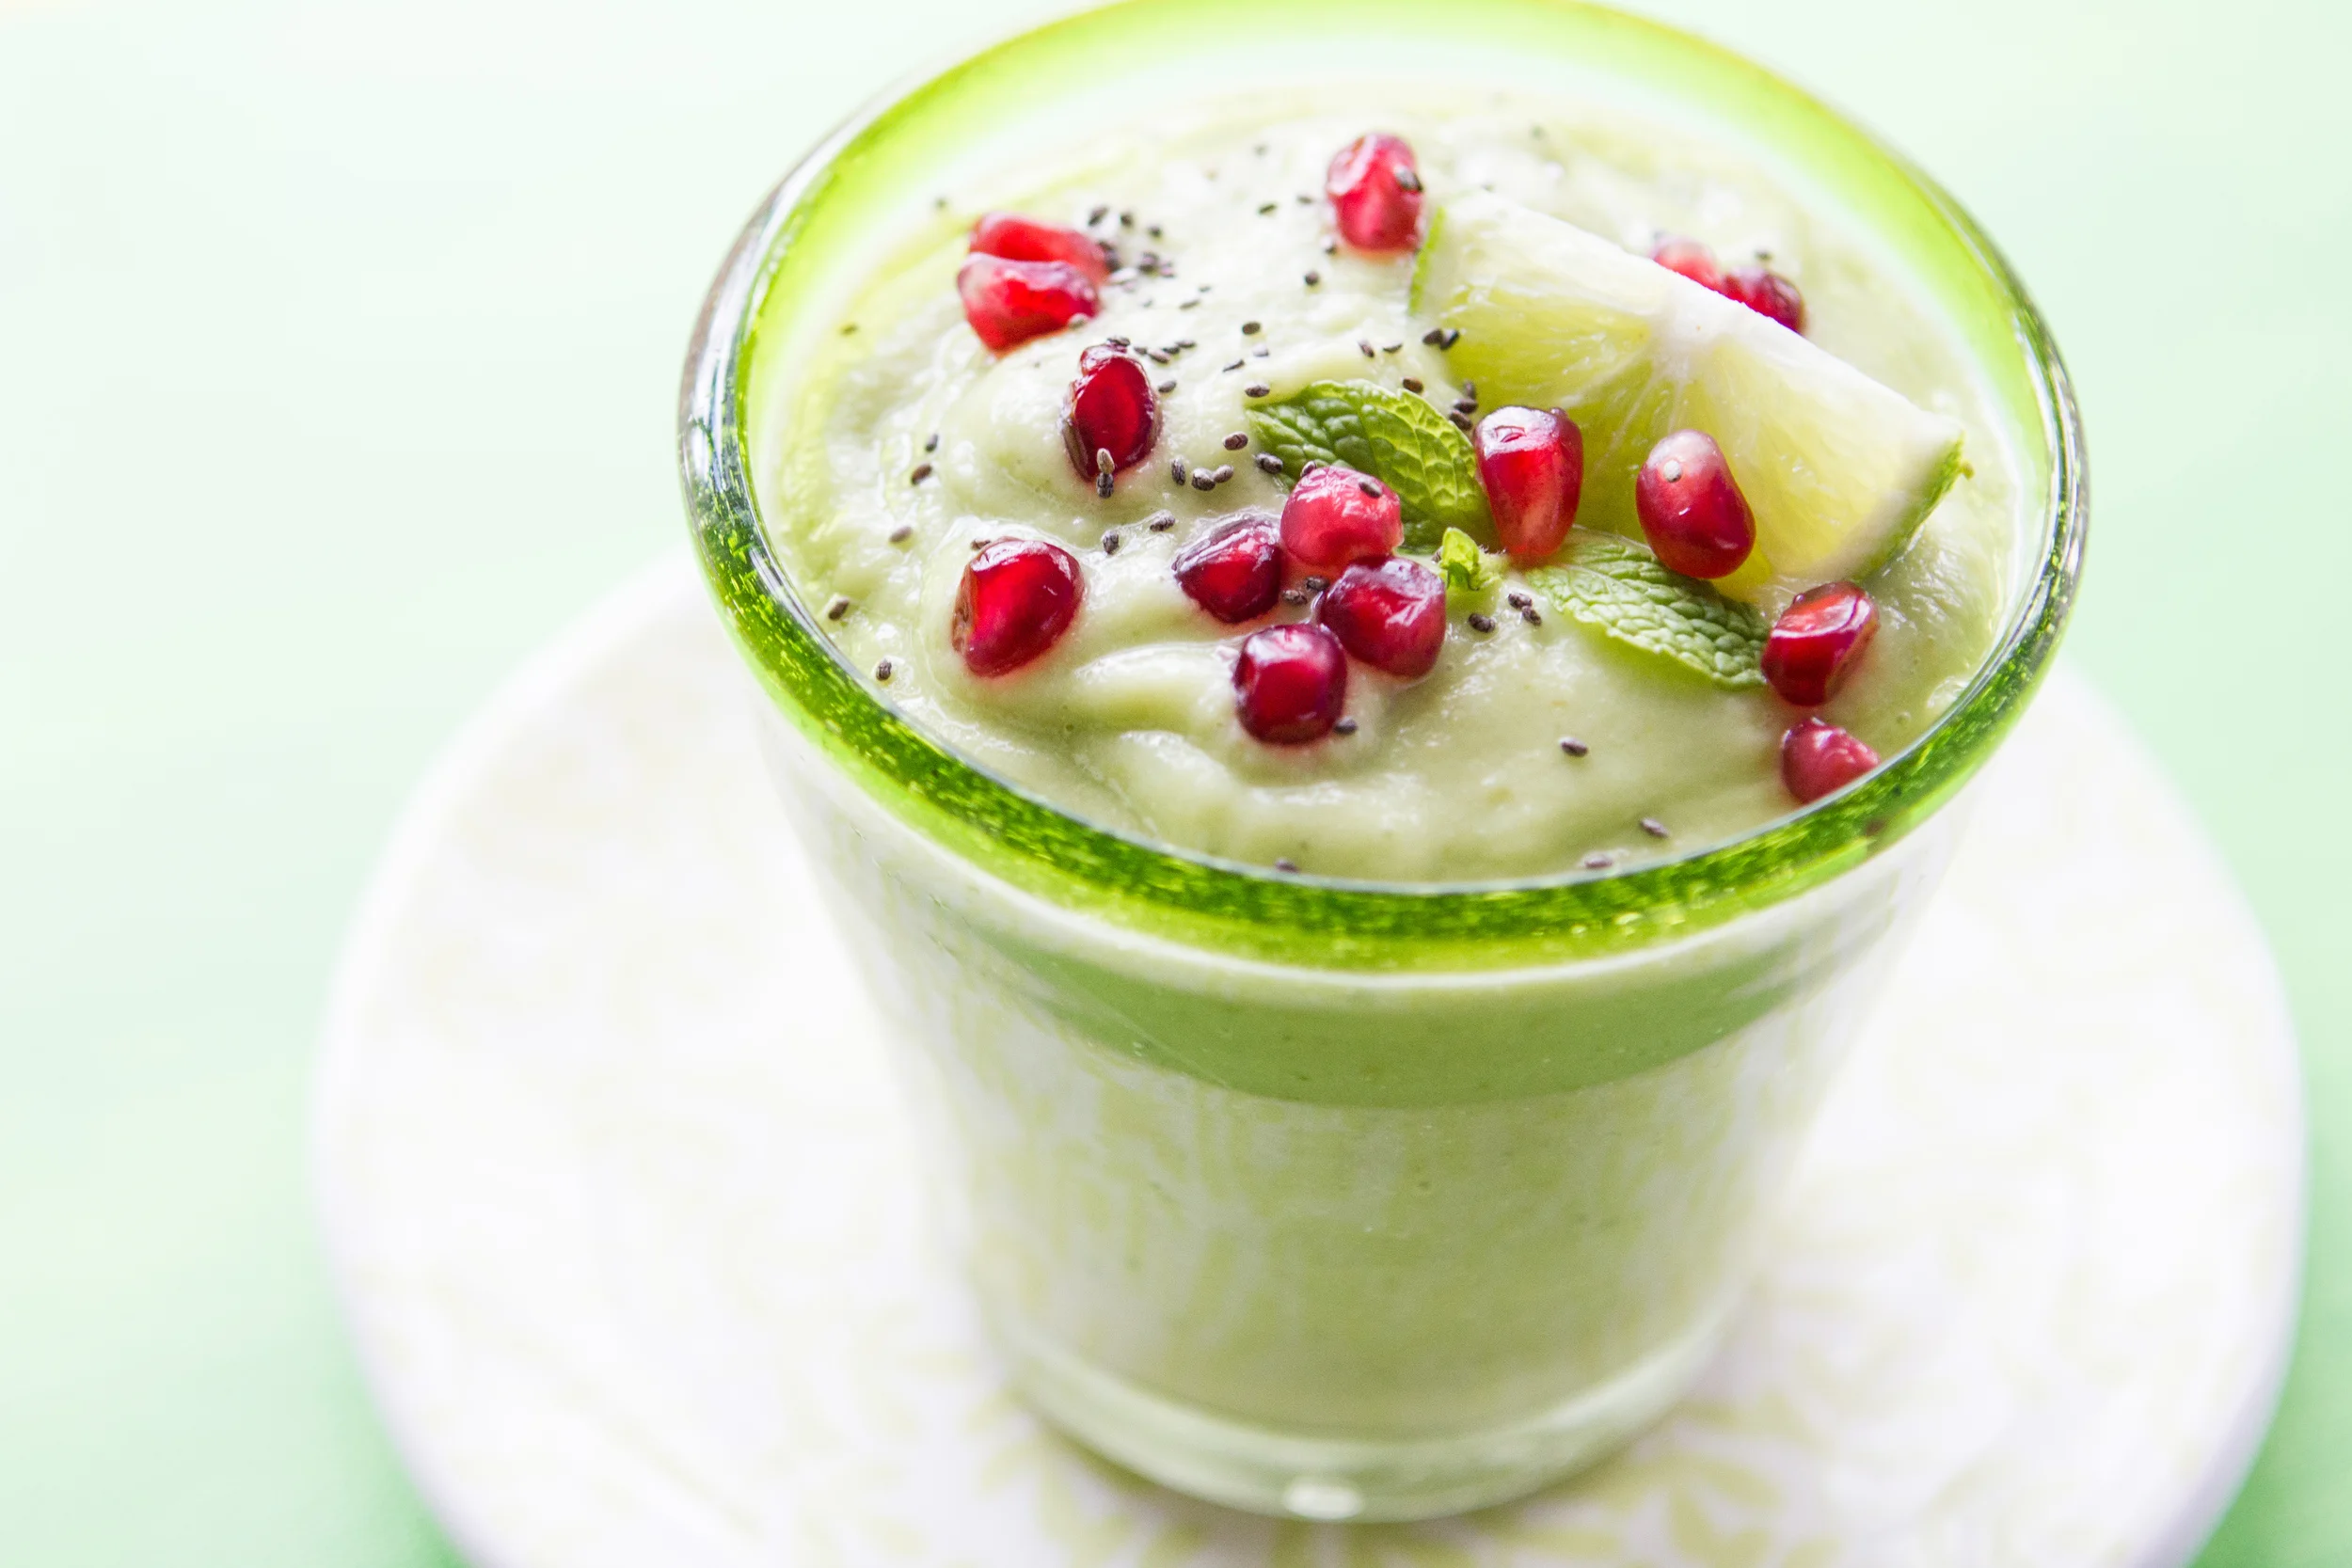
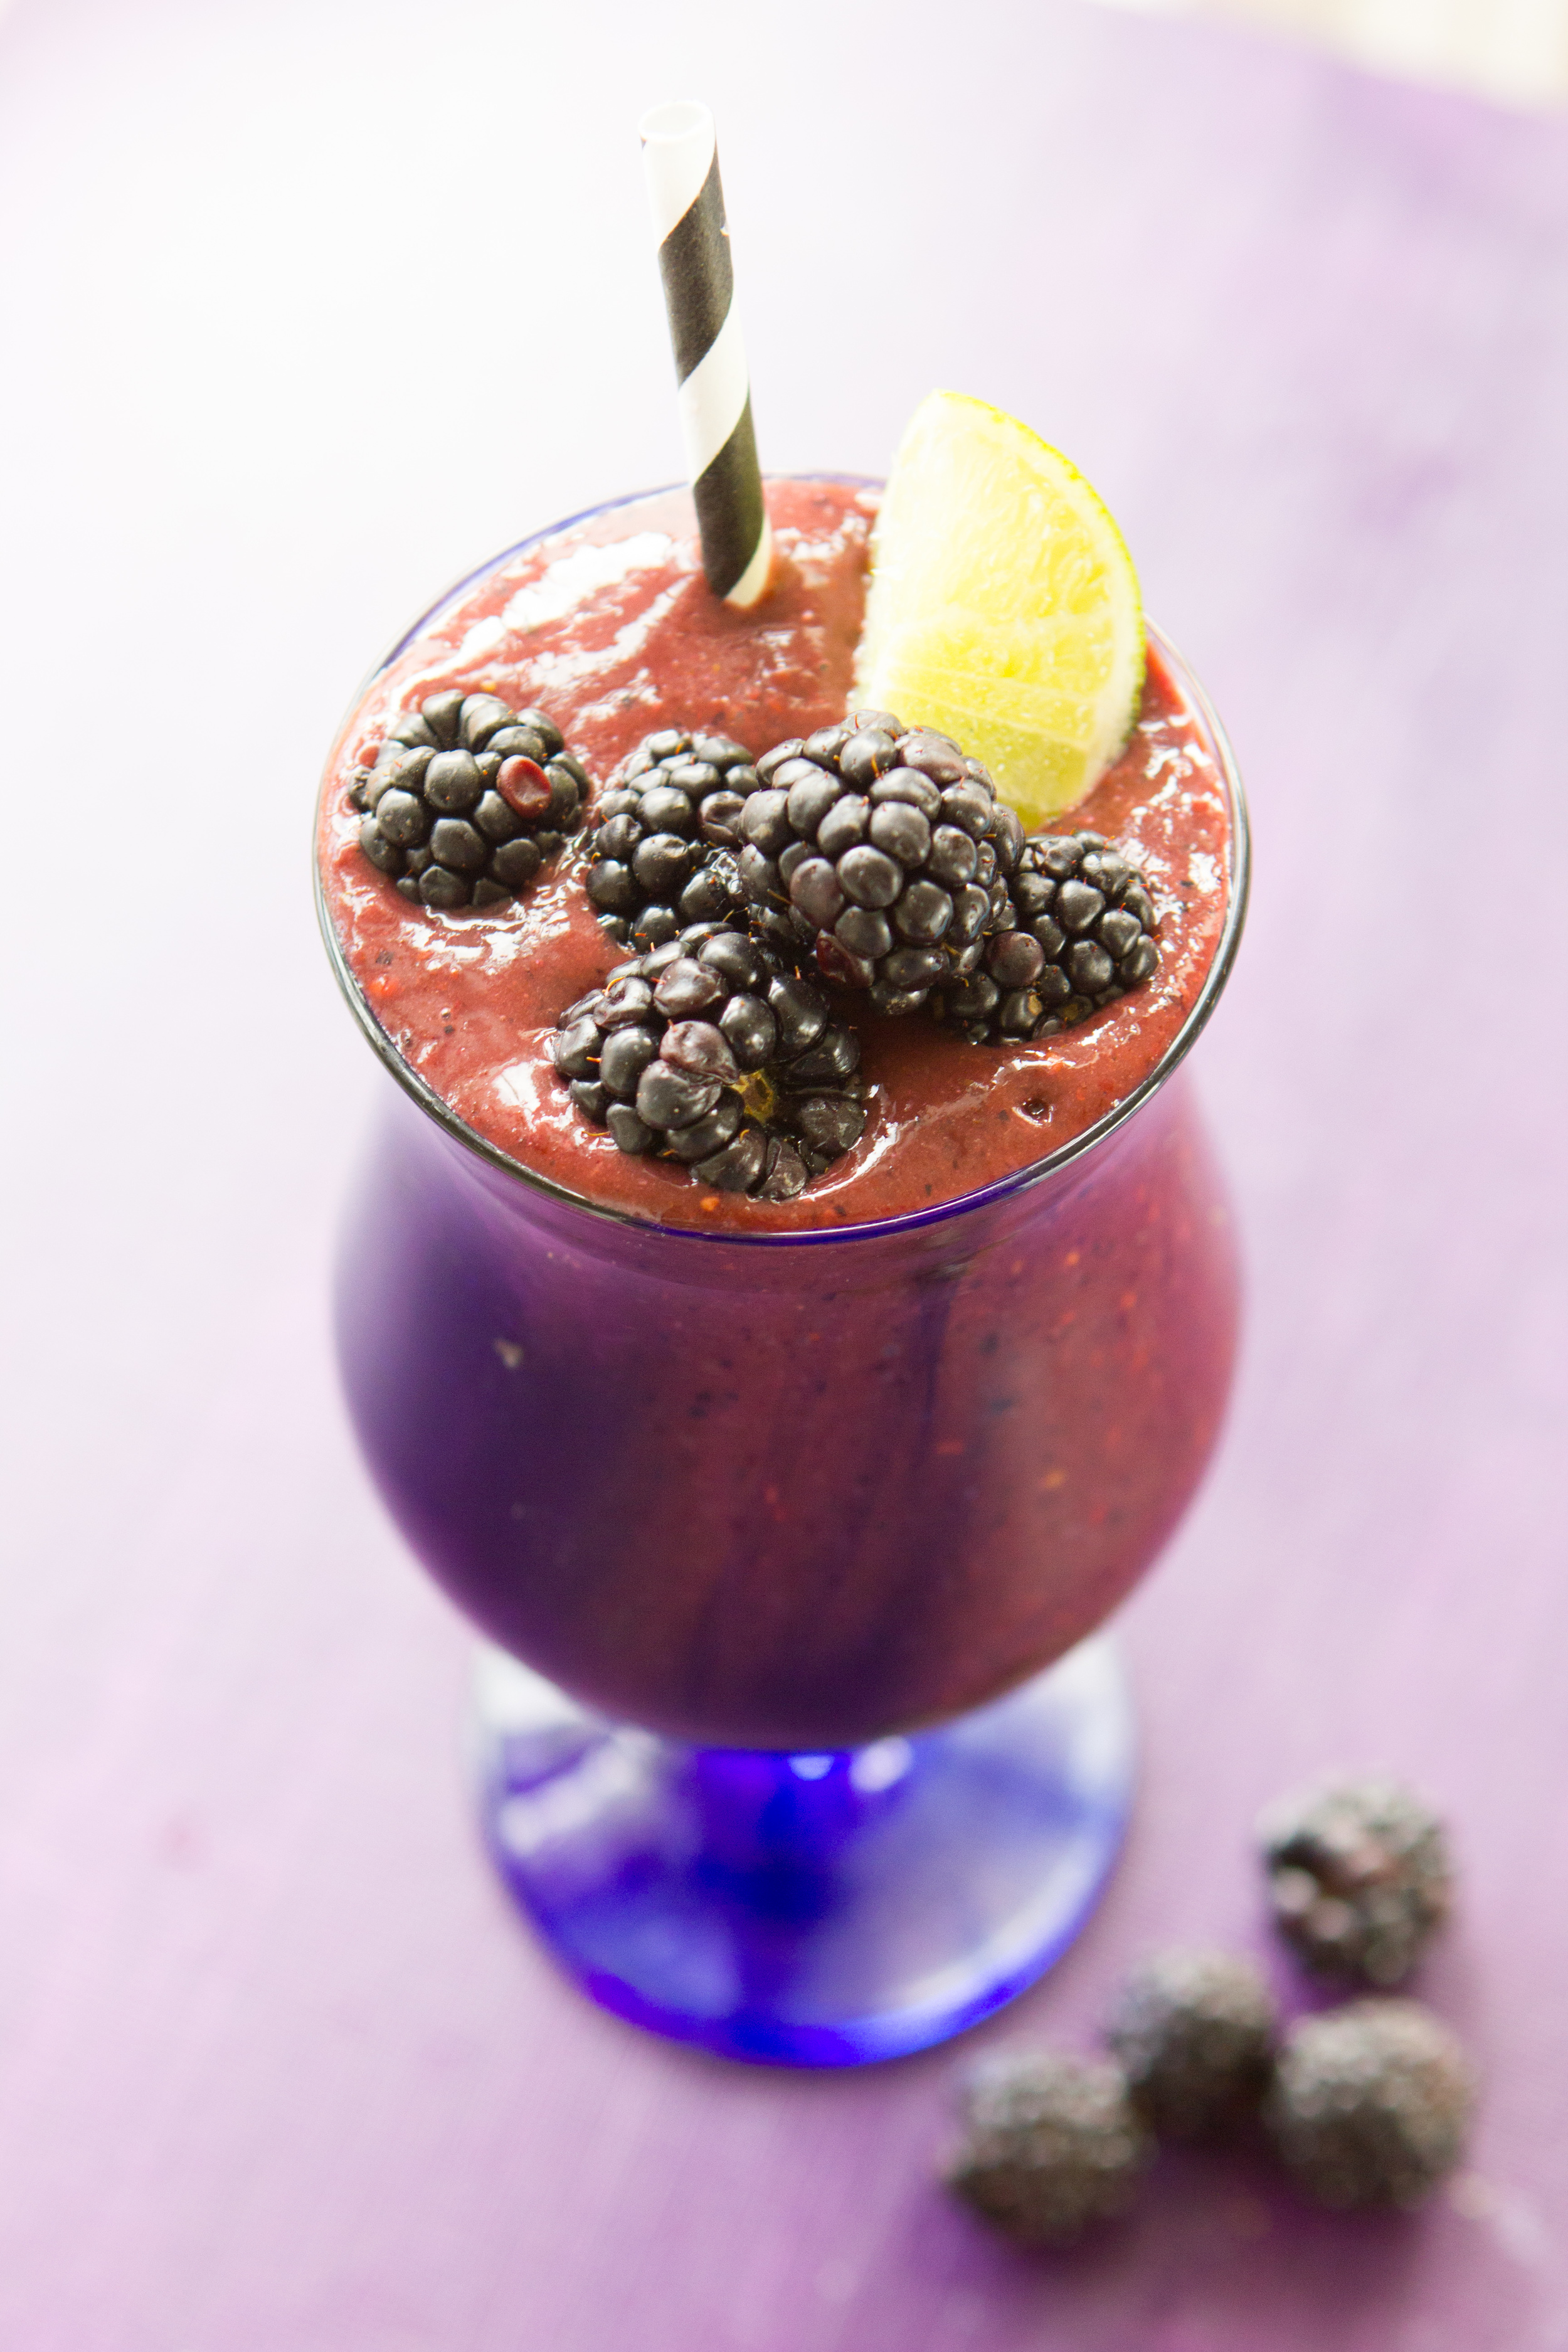
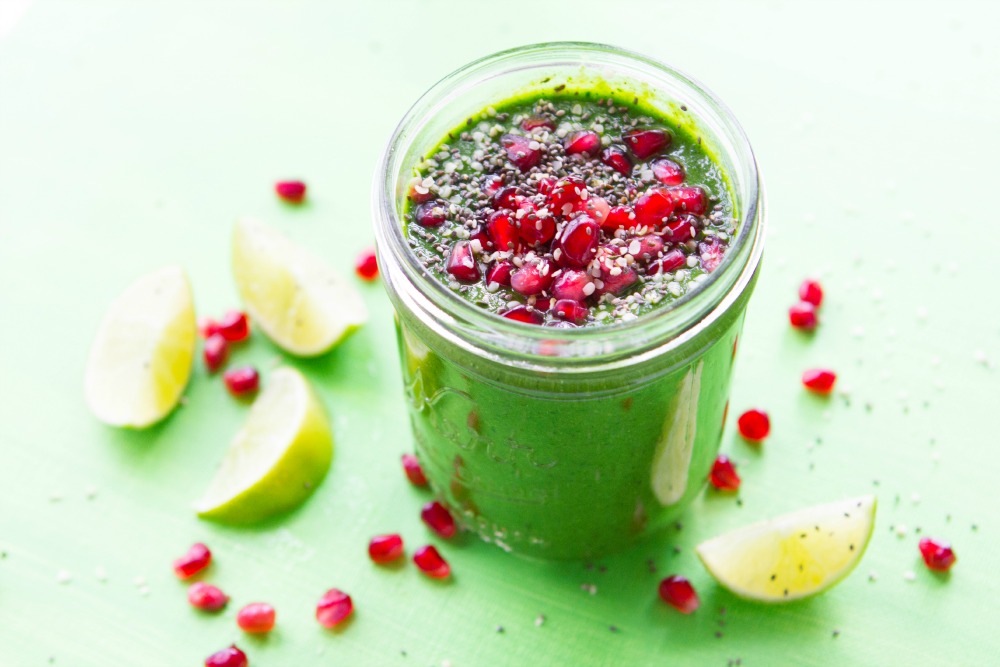
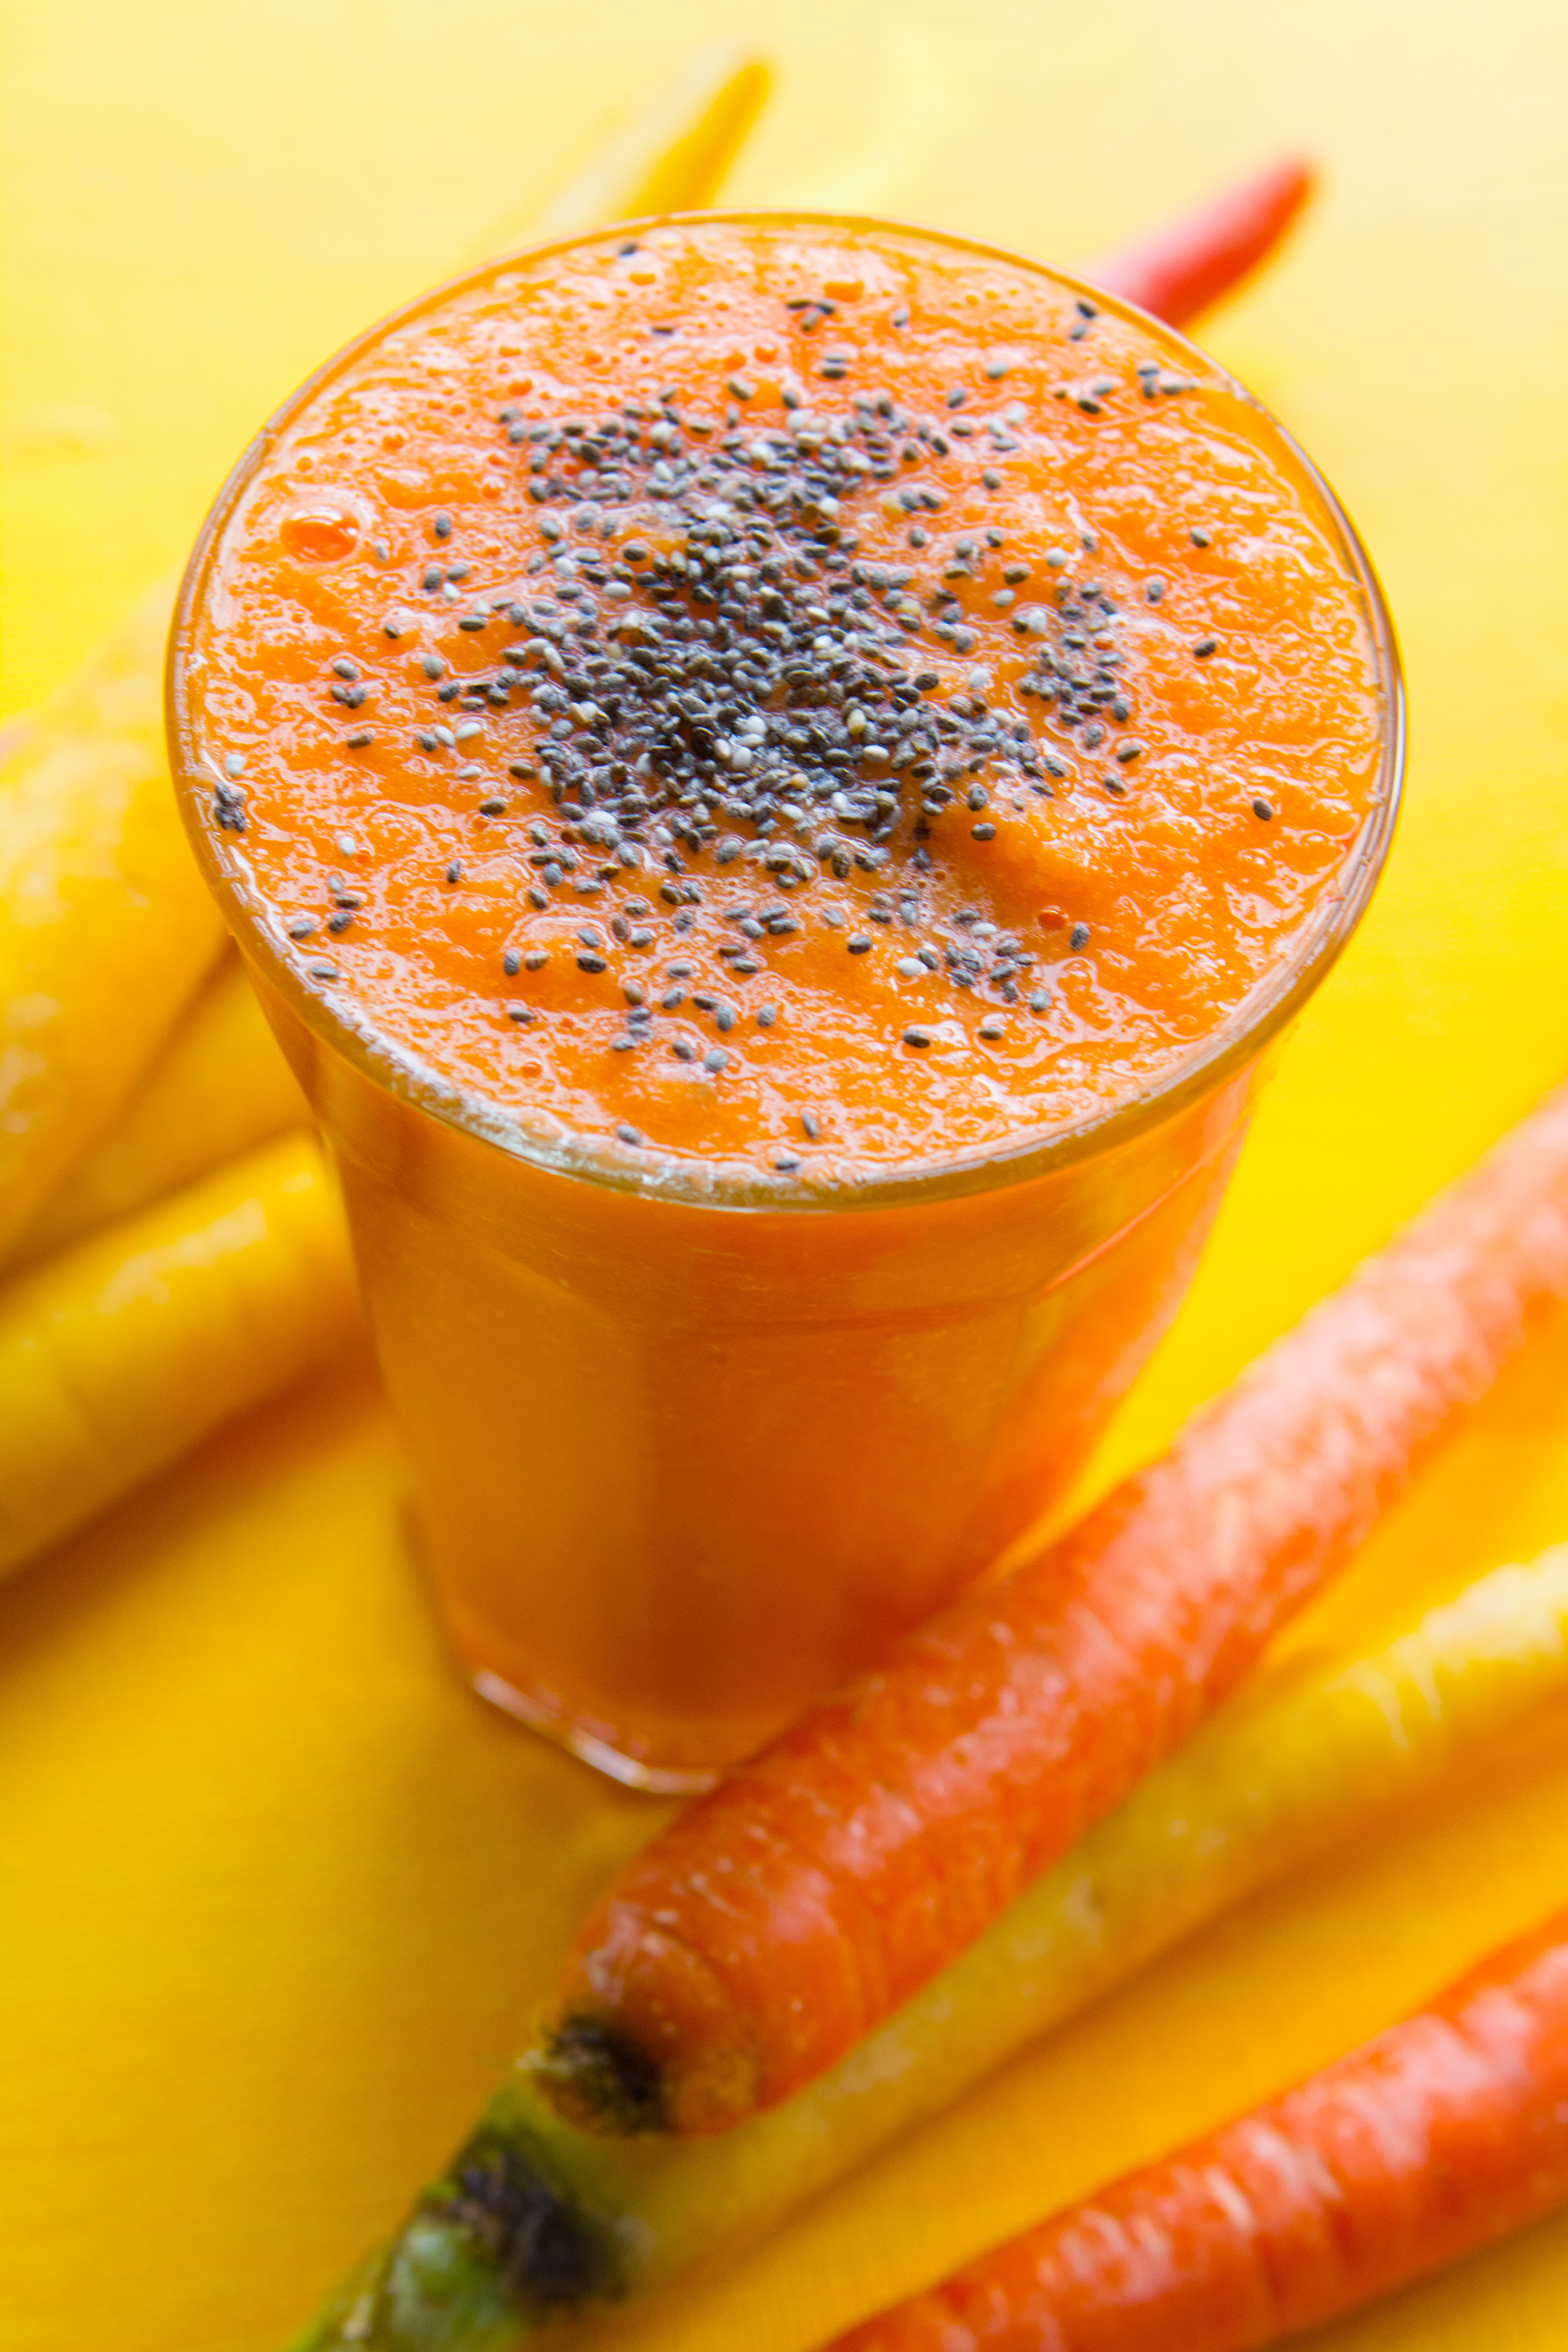
Want to see this idea in action? Here are a few photos created on my colorful canvas squares. Turns out monochromatic is totally brilliant!

1-The Feisty Carrot (5).jpg
3-Broccoberry Crunch (4).jpg
4-Rocket Fuel (3).jpg
6- Wake Up Greenie (3).jpg
8-Cucumber Pear Blast (3).jpg
10-Invisible Spinach (3).jpg
11-Lean Green and Hi Protein (6).jpg
12- Grandmas Oven Smoothie (2).jpg
12-5.jpg
15-5.jpg
19-Tropicool Zester (8).jpg
21-1.jpg
27-2.jpg
30- (5).jpg
1-The Feisty Carrot (5).jpg 3-Broccoberry Crunch (4).jpg 4-Rocket Fuel (3).jpg 6- Wake Up Greenie (3).jpg 8-Cucumber Pear Blast (3).jpg 10-Invisible Spinach (3).jpg 11-Lean Green and Hi Protein (6).jpg 12- Grandmas Oven Smoothie (2).jpg 12-5.jpg 15-5.jpg 19-Tropicool Zester (8).jpg 21-1.jpg 27-2.jpg 30- (5).jpg

Used this Technique?

I'd love to see how this idea worked for you. Leave a link below and share your photos. Or tag me via Instagram. Can't wait to wow over your images!

In Business Tags food photography
2 Comments

Triple Your Email List with LeadPages, Here's How.

December 1, 2015 Brooke Lark

Please note: The following post contains affiliate links. 

In the online world, bloggers were once able to rely on ad-based income. But the wild, wild web is changing dramatically and with it, the way we bloggers connect with, interact with and make cashmoney from our audiences.

Now more than ever, we must to stop thinking like bloggers and start thinking like marketers. And marketers know connection with readers doesn't lie in sometimes-seen sidebar widgets and blog post links sprayed haphazardly to social media feeds. Instead, 51% of marketers in a recent survey indicated the top digital channel of 2015 is...email.  

Why the Email List Reigns

We can no longer wait for connection with readers to happen on our turf, we must make it happen on theirs.  Getting in front of our readers eyes, sitting with welcome words in their inbox is 40x more effective than connecting via Facebook and Twitter.  Studies show 91% of consumers check their email at least once daily, whereas just 70% of Facebook subscribers use the site everyday. 

If you want to boost traffic, increase sales and build your brand, you need an email list. 

But, if you're like me, you spent the first thousand months of your blogging career not capturing leads. In fact, when it comes right down to it, the very idea of asking readers for email addresses makes you sweat. It may feel salesy, pushy or annoying. After all, you've been to a dozen websites with those hideous little pop-ups begging for your info. And it's downright irritating, right?

I'm totally with you. I can't remember the last time I typed my email address into a pop-up box. They're annoying for readers and becoming more ineffective by the day for site owners.

The great news here, however, is: there is a better way.

In fact, there is a significantly more awesome way to capture leads, create a loyal audience of readers and grab email addresses by the thousands. I know because I tripled my email subscriber list in just 3 months. And I did it without sidebar ads, spontaneous pop-ups and stupid salesy lingo.

Instead, I used LeadPages to share free downloads with my readers. The results have been absolutely astonishing.

Here is a step-by-step tutorial to show you LeadPages can turn every page of your blog into an email-list-building machine. 

Why Use LeadPages?

The first step to building your email list is to stop thinking of your blog as a blog. You have to start seeing it as a resource for readers. Readers don't need free content anymore. We're all so inundated with free content, we can barely see straight. We've got long lists a la Buzzfeed, pages and pages of ideas from Pinterest, expert articles, video tutorials, brand channels, recipes, roundups, free ebooks, social feeds updates by the minutes. Everything feels like a whirlwind all the time. Your readers don't need more thrown at them. They don't need a 101 page ebook or a post with 2000 images and a slew of new ideas. They need to feel like you help them cut through the noise. They need simple. The need instant. And they want one page printables.

Instead of appealing to your readers by giving them more-more-more, give them instead...less. A simple, one page PDF that can be easily printed. Then hung on their fridge as an easy-reference resource. 

LeadPages has a simple integration tool that makes it incredibly easy to incorporate customized downloadable on every page of your blog. Once you've create a one-page PDF, you can quickly connect it to a LeadBox which automates an email form and sends the download to subscribers for you. The entire process is automated! You set it up once, and it works for you 24/7! 

  • All About PDF's. Wondering what sort of printables to include in your blog posts? Be creative! Infographics, referral sheets, shopping lists, menu plans and other resource guides are all incredible useful. You can easily create your own PDF's in Word or Photoshop. But, if the entire process feels overwhelming, I love working with contract designers from UpWork and 99Designs. The sites make it easy to scan portfolios, finding designers who match my personal style. Though prices may vary, you can typically expect to pay between $60-100 per PDF. With infographics starting around $150/each.

How to Make a LeadBox

For my own site, I started creating 1-page eating plan printables. You can see how they worked on my old site by clicking here. 

Essentially, readers would click on a blog, read through it. Then at the end of the post, there would be an image of the downloadable with a button inviting them to "Click to download" or "download now." (I used free online editor PicMonkey to create the button and text overlay on a jpg image of my PDFs.) 

It looked something like this:

Note: this image is NOT technically uploaded to my blog. It's actually connected to, created by and hooked up to a LeadPages LeadBox.  To create your own, you'll need an LeadPages account. The basic Standard Annual ($25/mo) account is all you need to get started.

Step 1: Upload Your PDF

Once logged into your account, click on your account name and select "LEAD MAGNET DELIVERY"

Screen Shot 2015-12-01 at 4.06.08 PM copy.jpg

Scroll to the bottom of the page and click "UPLOAD NEW FILE". Follow the steps to upload your PDF, including a short message which will be sent via email to recipients. 

Screen Shot 2015-12-01 at 4.09.06 PM copy.jpg

Step 2: Create a LeadBox

With PDF uploaded, it's time to integrate your download into a snazzy little image. Click on the "LEADBOXES" icon in the upper navbar of your account.

Screen Shot 2015-12-01 at 4.13.47 PM.jpg

Then, click  "CREATE A NEW LEADBOX". A pop-up will open, asking you to indicate the type of box. Select the category that best fits.

A LeadBox editor will open. This area allows you to customize the integration settings.

Integrate the form with your email subscriber, then click "CUSTOMIZE THIS FORM" to open the form editor. 

There are a variety of settings, pick and choose whichever work for you. The most important part of this process is turning ON the "Send An Email After Someone Opts-in On This Leadbox" section. Once selected, you'll be able to dropdown the "SELECT LEAD MAGNET" menu, picking the PDF you just uploaded. If it's not showing up, simply click "REFRESH" an try again.

When the LeadBox is exactly as you like it, press SAVE then PUBLISH.

At this point, you'll have several options for sharing your LeadBox. You can turn it into a text link, create a simple button or connect it to an IMAGE of your PDF. I typically use the image as a lead magnet for my LeadBox.

Simply click "IMAGE", select an image of your PDF (you'll want the image to be sized perfectly to fit your blog since it will be pulled as-is into the code). Press "SAVE CHANGES" then copy the HTML code and paste it into the HTML area of your blog post. Once published, the LeadBox will generate an image, pulling readers into the subscriber email campaign you've just created. 

Print This Tutorial Now

I've turned this whole post into a simple step-by-step tutorial. Just click on the image below and I'll email you a printable version. Whenever your ready, you'll be able to add LeadBoxes to every page of your blog and build your email list #likeaboss.

Tried This Tutorial?

I'd love to see how LeadPages and LeadBoxes are working on your blog! Leave me a link so I can come check out your email-building abilities. Or, buzz me a message via social. I can't wait to connect. 

Let Me Break It Down for You.

Building a business, finding a balance. There's so much to do, it can be hard to keep on top of it all. Which is why you need my two-bite tips. Crazy simple tricks you can put into action right.now. Delivered right into your inbox. Sign up and start kicking ass all over your existence.

Your privacy is always respected.

Thank you!
In Business Tags marketing
Comment

SILVER DOLLAR PUMPKIN BACON WAFFLES (PALEO! GLUTEN-FREE!)

November 9, 2015 Brooke Lark

I’m all sorts of cowing out today. Because, these waffles.

But also, because the secret behind the waffles. You guys. I feel like I’ve stumbled onto a pirate ship full of treasure. Here’s why:

THIS PANI’ve been totally freaking over waffles lately. They’re all I want to eat. Like, all the time.I want waffles for breakfast and waffles for dinner. I want waffles for dessert and waffles at midnight, when I should be sleeping instead of think…

THIS PAN

I’ve been totally freaking over waffles lately. They’re all I want to eat. Like, all the time.

I want waffles for breakfast and waffles for dinner. I want waffles for dessert and waffles at midnight, when I should be sleeping instead of thinking about waffles.

This is a hard obsession to obsess about, when you’ve gone and given up gluten, beans, flours, and other stuffs that tend to make good waffles. Paleo breakfast foods typically use a magical combination of fibrous bananas and eggs to make crepes and pancakes. But put that batter into a waffle pan and you’ve just got a bubbly mess.

At least, that’s what happened until I discovered two paleo-fabulous finds at Harmons this week. (Mantra break: Forgive me Father, for I am just now coming to appreciate my local Harmons for the gourmet grocery goodness that it harbors inside).

So, this pan. This NordicWare Silver Dollar Waffle Griddle now makes waffles simple, easy, and in totally perfect sizes. When I say I want a waffle, I don’t really want a whole, goddamned waffle. I just want three bites. Three bites of nom, three bites of syrup. And in proper cases, three bites of bacon.

Most waffle irons are too big to give me what I want. They’re just behemoths in the world of breakfast food. And thus I’ve left my waffle iron withered and lonely in the back pantry for sometime now.

But this pan officially changes everything. It heats evenly, makes teeny waffles, and stored itself simply with my other pans. (Mantra break: Oh, Silver Dollar Waffle Griddle, j’adore.)

 THIS FLOURNow, let’s talk about Thing #2. This flour.GUYSSS! THIS. FLOUR!!When I saw it on the Harmon’s shelves, I plum near freaked. A flour made–not from rice, not from tapioca, not from those bizarre little fake-grain-blends. Nein. A flour made …


THIS FLOUR

Now, let’s talk about Thing #2. This flour.

GUYSSS! THIS. FLOUR!!

When I saw it on the Harmon’s shelves, I plum near freaked. A flour made–not from rice, not from tapioca, not from those bizarre little fake-grain-blends. Nein. A flour made from green bananas.

WeDo Gluten-Free Banana Flour. Oh myyyy gawwwwllly.

DO YOU KNOW WHAT THIS MEANS?!!!

It means no more running to the store to make paleo pancakes because you ran out of bananas.

It means no more gagging myself through nasty sweet goodies made with overripe bananas.

It means…OMG! BANANA FLOUR.

If you’re a gluten-free eater. You’ve gotta get this stuff. The texture is fine and the flavor is super-super mild with the teensiest touch of sweetness. It’s everything we’ve been missing as we try to bake goods with mealy, heavy almond flour and unsticky coconut flour. Now, a happy mixture of these three superfood sources–banana flour, almond flour, coconut flour, and  we’ll never have to look at nappy brown rice flour again.

This stuff is the shiz. Get it. Mix it into these waffles. Make your life so happy it hurts.

Like, happy bacon hurts.

That’s a thing, right? It is nowwww. Meow.

INGREDIENTS:FOR THE WAFFLES:1/2 cup Banana Flour1/3 cup almond flour2 eggs1/3 cup pumpkin puree1/4 cup almond milk + 1/2 tbsp vinegar1 tablespoon pumpkin pie spice1 teaspoon vanilla1/4 teaspoon salt1/4 teaspoon baking powderFOR THE SYRUP:5 tablespoo…

INGREDIENTS:

FOR THE WAFFLES:
1/2 cup Banana Flour
1/3 cup almond flour
2 eggs
1/3 cup pumpkin puree
1/4 cup almond milk + 1/2 tbsp vinegar
1 tablespoon pumpkin pie spice
1 teaspoon vanilla
1/4 teaspoon salt
1/4 teaspoon baking powder

FOR THE SYRUP:
5 tablespoons butter
5 tablespoons maple syrup (or honey)
3 slices cooked bacon, chopped
1/2 cup blueberries

DIRECTIONS:

FOR THE WAFFLES:
1. Mix all ingredients together.
2. Spoon batter into a greased Silver Dollar Waffle pan heated to medium-low heat
3. Once the bottom is golden brown, flip and cook the second side. (Use a wooden fork to flip)
4. Cook second side until golden. Serve with syrup. 

FOR the SYRUP:
1. Mix butter and maple syrup ingredients together.
2. Microwave on high until boiling.
3. Remove, toss in bacon and blueberries.
4. Spoon atop cooked waffles. Enjoy!

In Recipes Tags Breakfast, paleo
1 Comment

HONEY-DRIZZLED BACON PORT BREAKFAST SANDWICH

March 23, 2015 Brooke Lark

I made something wonderful. With Nature Nates raw honey. 

The brand asked me to create a March recipe, so we pulled together crisp little toasts (go gluten-free or almond-flour toast, if you’re paleo) and melted creamy port up top, then added strips of bacon, a speckling of thyme, and a happy drizzle of honey. It was divine. You must make these delightful little open-faced breakfast toasts.

It will leave you wondering what all the hoopla over pancakes is about. Because Port and Bacon breakfast sandwiches are pure bliss. 

GET THE RECIPE HERE. 

Then, share your own Nature Nate’s honey creations on social media using @naturenates and the hashtag#HoneyMakesItBetter

  •  
In Recipes Tags Lunch, Breakfast
Comment

3-INGREDIENT PALEO CREPES

March 12, 2015 Brooke Lark

When you decide to go grain-free and gluten-free, there are a few fine pleasures you sorely miss. Toast is one. And crepes are another. You can guess pancakes and french toast are a close second. But, we’ll get to those on another day.

For today, I’ve GOT to share our superquick Paleo Crepe recipe, because I’ve told so many hundreds of people how simple they are, then left the conversation sure that they’ll never even give them a go, because I didn’t give them a recipe.

So here it is. The world’s simplest recipe for the world’s most delicious Paleo Crepes. Egg, Banana, Coconut Milk. That’s it. Those three snappy-fast, whole-food ingredients are all you need to make a piping hot homemade breakfast. If you’re concerned about the banana in the mix mussing up the tender, crepe-like flavor, don’t worry. Stick to slightly green bananas and you wont even notice anything but golden crepe goodness.

FAVORITE HEALTHY CREPE TOPPINGS

Once you’ve prepped your crepes, stuff ’em with any of your favorite add ins. Here are a few of our all-time favorite crepe combos:

  • Sliced Bananas & Maple Syrup
  • Strawberries, Sour Cream & Maple Syrup
  • Raspberries, Lemon Curd & Cream
  • Blueberries, Almond Butter & Honey
  • Scrambled Eggs & Salsa
  • Pesto, Tomatoes & Pine Nuts
  • Sauteed Mushrooms and Crisp Onions
  • Melted Dark Chocolate & Orange Slices
  • Hummus & Tzaziki
  • Ricotta, Honey, Oranges & Fresh Mint
  • Garlic Sauteed Spinach & Parmesan 

With your whistle whet, it’s time to get you this recipe! All you need are three basic ingredients and one blender. That’s it! No whisking. No mixing. Just blend, cook, and serve. You’re grain-free crepe life just got gooood!

2015-02-3-ING-Paleo-Crepes5.jpg

3-INGREDIENT PALEO CREPES

Serves 2

Quick and simple, these 3-Ingredient Paleo Crepes cook up into perfect, lacy pancakes. Serve with your favorite fillings--berries, cream, Nutella, and beyond!


Prep Time 5 min

Cook Time 10 min 

Ingredients

  1. 1 banana
  2. 1 egg
  3. 3-4 tablespoons coconut or almond milk
  4. *coconut oil for cooking

Instructions

  1. Mix all ingredients in a blender. Batter should be thin. Pour into a nonstick ceramic skillet with 1 tablespoon of coconut oil or butter heated until melted over medium heat.
  2. Use a spoon, if needed, to spread the batter very thin in the pan. Once the bottom browns, flip with tongs or a spatula, and cook the other side until golden brown. Top with your favorite toppings. Enjoy!


In Recipes Tags paleo, Breakfast, 3 ingredient
Comment

Simple Asian Avocado-Citrus Salad

March 9, 2015 Brooke Lark

DISCLAIMER: This post was sponsored by DOLE. I was asked to create a Brain-Smart recipe using DOLE Fresh Spinach, Blueberries, Strawberries, or Broccoli. All opinions expressed in this post are mine. 

I know veggies are vital to good health. But for some reason, I always feel like they’re hard to make. Try as I might to read a hundred, thousand cookbooks on Easy Healthy Recipes, pin as I might a millionbillion pretty pictures. when it comes down to it, it’s easy to forget how to prep fresh veggies, how to enjoy them, how to add them into my daily life. 

But plant-based eating is so, so incredible vital.  Study after study shows the mind-blowing benefits of diets rooted in plant-based eating. From lower rates of cardiovascular disease to potentially reduced rates of cancer and boosted brain power, a focus of fresh vegetables does a body good. 

So this week, when DOLE reached out and asked me to create a Brain-Smart recipe for Brain Awareness Week (which begins March 16th), I was delighted! Any excuse to dive into easy-to-make healthy recipe ideas is a dream come true.

This year Dole is looking to inspire Americans to eat more fruits and veggies in 2015, especially during Brain Awareness Week. So many fruits and vegetables contain nutritional elements that may help improve memory and overall brain function, it’s time to skip the fast food and start making fast-and-healthy food! 

After hunting down some delicious ideas, I decided to create a simple Asian Inspired salad. I wanted it to be so quick and easy, there wasn’t even a smidgen of space for me to make excuses. I wanted a salad so good, and so quick, it could be made in less time than a trip through a drive-thru. You’re going to love it. Grab a sack of DOLE Spinach, an avocado, and an orange, and you’re halfway there!

HOW TO CUT A PERFECT AVOCADO SLICE

Ever wanted to slice a perfect piece of avocado? Here’s how! 

  • 1. Slice a ripe avocado in half with a knife. 
  • 2. Press the knife into the center of the pit, then twist gently to remove the pit. 
  • 3. Slice the avocado in half. Then gently peel the peel off. It’ll create a perfectly smooth avocado slice!

Place those avocado slices on top of your spinach leaves. Top with orange slices. Then whisk together a sweet-and-spicy sesame dressing. 

A drizzle of the dressing lends beautiful flavor and tons of crunch. A little heat. A little honey. A whole lotta healthy. 

Make, eat, enjoy!


SIMPLE ASIAN AVOCADO CITRUS SALAD WITH DOLE FRESH SPINACH

INGREDIENTS:

1 bag DOLE fresh Baby Spinach
1 navel orange, peeled and wedged
1 avocado, peeled, pitted and sliced
1/2 tablespoon sesame oil
1 1/2 tablespoon olive oil
2 tablespoons apple cider vinegar
1 1/2 tablespoon Braggs aminos (or tamari)
1/4 cup roasted sunflower seeds
1 teaspoon red pepper oil (or 1/4 teaspoon crushed red pepper)
1 1/2 tablespoons honey
1/2 teaspoon pepper

DIRECTIONS:

Arrange spinach, orange slices, and avocado on serving dishes.
In a small bowl, whisk together sesame oil, olive oil, apple cider vinegar, Braggs aminos, sunflower seeds, red pepper oil, honey, and pepper. Drizzle over salad. Serve immediately and enjoy!

FIND MORE HEALTHY & DELICIOUS DOLE RECIPES

The DOLE website is chock-full of delicious recipes. With a focus on healthy, plant-based eating, DOLE is a premiere resource for anyone looking to lose weight, eat right, and boost brain health.

In Recipes Tags Salad
Comment

2-INGREDIENT PALEO PANCAKES

March 9, 2015 Brooke Lark

Whether you’re a paleo eater, a gluten-free eater, or just looking for a quick way to shake up your breakfast routine, this yummy recipe is a keeper. 

I first learned about 2-ingredient Paleo Pancakes a year or so ago, when I go serious about focusing on paleo-friendly food for my family. A long time baker and cupcake lover, I wasn’t sure I could live without those baked morning basics–French Toast, Pancakes, and Waffles. So happening upon a supremely simple recipe like this one here was a lifemaker. 

There are a lot of paleo pancake recipes out there. People have gotten all sorts of excited about the basic combo of bananas and eggs. But I like to stick to the basics. Why add 7 other ingredients when two simple ones make splendidly simple, totally delicious pancakes? Yeah. I agree. Two ingredients is brilliant enough. We don’t need to go bollocks it up with a bunch of other add-ins.

If you do want to play, however, this recipe is great with a sprinkle of cinnamon. A teaspoon of vanilla. Or a splash of fresh lemon juice. Boost the protein in your pancakes by adding 1/2 cup of almond flour and 1/4 cup of almond milk. Or, just keep it plain like we do. Dirty one bowl and one dish, and enjoy a plate of healthy, gluten-free pancakes in 5 minutes flat.

Keep in mind, the ripeness of your bananas will alter the taste of these pancakes. I prefer to use a banana with green tips. It keeps the flavor only mildly tinted with banana, and still has enough start to keep the texture of the pancakes pretty durn perfect. A ripe banana or green banana also work. Ripe bananas will give you a sweeter pancake, and green bananas may take just a  bit more blending to get the batter properly pureed.

No matter what color your banana, you seriously can not go wrong with these yummy pancakes. Whip ’em up and enjoy. They’re gluten-free, guilt-free, and deeelish.

2-INGREDIENT PALEO PANCAKES

Two healthy ingredients are all you need to make these splendid gluten-free pancakes. Topped with a smidgen of honeyed blueberries or pure maple syrup (and lots of butter), this recipe is a great way to start the day without grains!

Ingredients


  1. 1 banana
  2. 1 egg

Instructions

  1. Place banana and egg in a blender. Blend until smooth. Pour into a nonstick ceramic skillet heated to medium-high. Flip once the edges of the pancake have set. Enjoy!
In Recipes Tags Breakfast, paleo, 2 ingredient
Comment

4-Ingredient Crockpot Chicken Tacos

November 26, 2014 Brooke Lark

Somewhere between work and school and carpool and dating hot men, we moms are also supposed to come up with dinner. That's a pretty tall order most nights. Yeah, yeah, I'm a food blogger and all. I cook for a living and all. But, I can tell you whole heartedly and reassuredly that my 5 o-clock hour looks just like yours. All the little people waiting, and me with not a damn idea of what to serve 'em.

Except, not tonight. Because, early this morning I woke up, tossed some chicken into the crockpot with three other super-simple ingredients and got me-self dinner prepped in 2 minutes flat. Secret: I actually tossed in FROZEN chicken breasts. I totally did! Because I don't even have time to thaw that shit lately. I tell ya, life is just blown up busy sometimes. 

Do how'd the fro chick fare? Totally fine. I had a batch of ready-made taco meat in 8 hours. Tender and delicious. No messy micro-defrosting needed!

To drive home the ease and wonderment of this recipe, I want to show you what's in it. It's stuff you've probably already got in your pantry. It's stuff your kids will totally eat. It's stuff that won't break the budget. You ready? Here are the ingredients:

  • Salsa
  • Mexican Hot Sauce
  • Garlic

Oh, and love. Because you will love LOVE luh-huve this recipe. It tastes like what we call "slutty taqueria" food. Just authentic and simple and so so perfect. All of that, without ever having to heat a skillet, bake with foil, or clean up ninety-two posts. Praise.

Here you go, lovely humans. Enjoy this for dinner tonight, Double it so's you haves dinner tomorrow night, and spend more time savoring life that flying through it. We call that Sow Cooker Style, bae.

4-INGREDIENT CROCKPOT CHICKEN TACOS

Cook Time 6 hr

Ingredients

  • 3 pounds boneless chicken breast
  • 1 cup Valentina Mexican Chili Sauce
  • 2 cups salsa
  • 2 tablespoons chopped garlic

Instructions

Place all ingredients into a crockpot. Cook for 6-8 hours on low. Shred with a fork, stir in any remaining sauce

Garnish with cilantro, if you please. Salt as you desire.


    In Recipes Tags dinner, crockpot, 4 ingredient, paleo
    Comment

    Creamy Mushroom Soup with Crispy Shitake | Paleo, Vegan, Delish

    November 6, 2014 Brooke Lark

    I'm headed to the Mixed Conference tomorrow morning, a chance to reconnect with old and new bloggy besties. It's been a long while since I surrounded myself with blog friends, and I'm quite excited. Especially because the divine Helene Dujardin will be one of the teachers. I'd lick strawberry jam off a slice of bacon to do anything in the presence of Lady Dujardin. She's a damn talent, and I can't wait to get inspired by her inspiringness.

    Before I leave, however, I wanted to share this absurdly easy recipe that I made in a vat and poured into my bathtub this week. A single pot was not enough, so we opted for the next size up. You'll want to, too. This shit is scrump.

    It's also basically the easiest recipe ever. Light and creamy, with not a smidgen of the nasty stuff that canned Cream of Mushroom entails. Just garlic and a bit of almond milk and so many mushrooms, it'll make your cheeks pop.

    And, in case you're wondering, cheek popping is supreme. You must aim for it nightly. This will get you there.

    If you don't have a Vitamix or Blendtec. you might be able to use one of those weak, lameass blenders, but I don't reccomend it. Just  bust for the hi-speed blender already, so you can make yourself a batch of damn soup without leaving chunks the size of newborns in it. Cheap blenders are lame. Save yourself.

    The recipe below include details on how I got me batch all made. This recipe, however, is uber forgiving, so don't freak if you swap in hemp seed milk, or cream, or--idunno--bone broth and a sack of butter--instead of the almond milk. It's still going to turn out perfectly.

    One swap you are not allowed to make--no olive oil is allowed swapped into this recipe. Coconut oil and avocado oil for cooking and blending. Truffle oil, if you desire, for drizzling. That's whatchyou got, girl. Don't mess.

    Recipe below. Trip ahead. I adore you and will return soon with tales of the yonders.

    And, oh. While you're at it, hit up Unomum Blog and check out the lastest. There's some seriously happenin' shit happening over thar.

    J'love.

    PALEO CREAM OF MUSHROOM SOUP

    INGREDIENTS:

    5 cups baby bella mushrooms
    1 cup veggie or beef broth
    1 1/2 tablespoon chopped garlic
    2-2 1/2 cups almond milk
    2 tablespoons coconut or avocado oil
    2 cups shitake mushrooms, sliced
    2 tablespoons sliced almonds
    salt and pepper

    DIRECTIONS:

    1. Pop mushrooms, broth, and 1 T. garlic in a big pot. Cover and simmer 15 minutes.
    2. Pour the pot stuffs into a Vitamix. Blend with almond milk. Leave covered.
    3. In a skillet, heat coconut oil over crazy high hot.
    4. Throw shitakes and 1/2 T. garlic. Stirfry until they golden browny.
    5. Toss in almonds. Salt and pepper wicked lots.
    6. Serve hot soup topped with crispy shitakes. Be rad.

    In Recipes Tags dinner, paleo, soup
    Comment

    Big, Chewy Paleo Oatmeal Cookies

    October 21, 2014 Brooke Lark

    My mother called the other week and said she’d been craving oatmeal cookies for breakfast. Now I know who to blame when I wake up and wanna motorboat chocolate chips before my eyes have half-snapped open. Thanks, Mama.

    One of the benefits of having a kid with a blog, I suppose, is that you can call and ask for a custom-created recipe, as per your cravings.

    “I just want a cookie with my coffee in the morning. Can you make that?” le mother asked.

    And I was all, like, “OMG. I want that, too. So, yes.”

    Cookies 2.jpg

    Sadly, life on the paleo side of things means life without the typical baking goods. No flour. No sugar. No oatmeal.

    Sounds like a tough combo, when you’re trying to whap together an oatmeal cookie, eh?

    The happy news? If you can figure out how to make an oatmeal cookie without oatmeal, it’s a-ok for breakfast eating.

    No crazy carb spikes. No zany sugar cravings. Just pure, chewy cookie goodness, ready for coffee dipping, stat.

    I love you mom. Next time you need a cookie recipe, you know who to call.

    Next time I need to thank someone for genetic code that prefers pastry over kale, I know who to call.  ;)

    A Note to Hard-core Paleo’ers: Hemp seeds are one of those questionable paleo treats. Seeing as how they are seeds, I use ’em. Seeing as how they are grainular, I support you if you choose to avoid them. In lieu of hemp hearts, try making this recipe with Banana Flour instead. It’ll all be okay.


    BIG, CHEWY PALEO OATMEAL COOKIES

    INGREDIENTS:

    1 stick butter, softened
    1 cup almond flour
    3/4 cup hemp seed hearts
    3/4 cup finely shredded coconut
    2/3 cup honey
    1/4 cup coconut sugar
    1 tablespoon pumpkin pie spice
    1 cup raisins
    1/2 teaspoon baking powder
    1 tablespoon vanilla

    DIRECTIONS:

    1. Preheat oven to 350 degrees.
    2. Mix everything together in a big bowl.
    3. Spoon giant scoops onto a parchment-lined baking sheet.
    4. Bake for 10-12 minutes, or just until the bottom of the cookies is golden
    5. Cool. Remove from pan.
    6. Eat. Enjoy with coffee early in the morn.

    Makes 8 giant ass cookies.

    In Recipes Tags breakfast, dessert, paleo
    Comment

    No Cook Dinner: B.L.A.T Chicken Lettuce Wraps

    October 15, 2014 Brooke Lark

    You know those giant vats of precooked, canned chicken breast you can buy from Costco? I buy them all the time.

    The problem?

    I never know what to do with them. I mean, other than the obvious–mash in mayo and kinda make a tuna sandwich (only with chicken). Chicken Salad Sandwiches are nice and such. But they’re so much better on bread than on spoons. And I’m plum positive about bread-free eating these days.

    So, what’s left for those of us who need to make dinner, stat. Who want to make dinner, stat. And who have a keg of canned chicken?

    Bacon Lettuce Avocado Tomato Lettuce Wraps, girls. Because, we sweg like that.

    My kids have blushed a nugget more than enough time over my usage of the word “sweg.” W-evs. I’m a hipster mom like that.

    Actually, I was quite surprised the other day when my youngest admitted that we are the “Ultimate Hipster Family.” She claimed place as the resident artiste. Noted that The Boyfriend was a vintage-truck-driving fellow, and laid claim upon my “coolness.” Hullo. Apparently it’s time I buy more scarves and start sipping latte’s.

    I’ll also need to attempt more Hipster Coolness. I’m far to high-strung to be cool enough to hipsterize. Though, this dinner is a start. It’s quick and paleo. Taco-like for picky kids. Doesn’t require a snit of oven heating, and comes together quick, especially if you’ve got yerself some Basic Pantry ingredients.

    Just toss, serve, sweg. We chill like that. (Or. Whatever.)

     BLAT LETTUCE WRAPSINGREDIENTS:1 (12.5 ounce) can cooked chicken breast, drained2 tablespoons vinegar2 tablespoons olive oil1 avocado, diced1 large tomato, diced1/4 cup bacon bitssalt & peppercilantro8 Bibb lettuce leavesDIRECTIONS:1. In a large…


    BLAT LETTUCE WRAPS

    INGREDIENTS:

    1 (12.5 ounce) can cooked chicken breast, drained
    2 tablespoons vinegar
    2 tablespoons olive oil
    1 avocado, diced
    1 large tomato, diced
    1/4 cup bacon bits
    salt & pepper
    cilantro
    8 Bibb lettuce leaves

    DIRECTIONS:

    1. In a large bowl, shred chicken.
    2. Drizzle with vinegar and olive oil
    3. Salt and pepper to taste.
    4. Spoon into lettuce cups.
    5. Top with avocado, tomato, bacon bits, and cilantro.
    6. Enjoiiii!

    Serves 4.


    In Recipes Tags dinner, paleo, no bake
    Comment

    Perfect Paleo Chocolate Chip Cookies

    October 13, 2014 Brooke Lark

    What is the Perfect Chocolate Chip Cookie? For me, it’s long been a cookie that’s buttery and golden-crisp around the edges. A little chewy give in the center. And so many chocolate chips it makes your face melt off.

    And now, on this Autumn Sunday in the middle of October, I add two more mandatories. Sea salt. And a kiss of maple.

    These cookies are just that. Everything you ever wanted in a chocolate chip cookie. Good-for-you ingredients, no sugar. Gluten-free. Paleo. Egg-free. Golden. Chocolate-chippy. And so, so splendidly perfect.

    HOW TO MAKE A PERFECT BATCH

    Let’s talk a few details about how you can make these cookies come out right every.time. There are a few secrets that’ll deliver fine little morsels, and I wantycha ta have them. Here are the things that’ll make a difference

    1. Use Finely Ground Almond Flour. Finely ground almond flour cooks up with excellent texture. Don’t buy the Bob’s Red Mill Almond Flour. It’s technically Almond Meal and doesn’t blend up as a good flour should, leaving you with a runny mess instead of nice, crisp cookies.
    2. Use Tapeline Maple Extract. I am not a lover of maple flavored anything. But, Mapeline extract is like maple-drank-rumnilla-and-turned-into-a-donut. The flavor is sweet and pure. So much better than that nappy fake-maple flavor you get on cheap grocery store pastries and such.
    3. Use Vanilla Bean Paste. Okay, so Neilsen-Massey Vanilla Bean Paste has a touch of sugar. But it’s minimalminimal. And the trade-off for having pretty little vanilla bean freckles in your cookies with a simple spoonful of this stuff is worth the smidgen-o’-sugar tradeoff. This is one of those times that easy trumps cwazyhealthy.
    4. Use Coconut Sugar. If you don’t yet have coconut sugar in your pantry, it’s time.

    Gone Vegan? These cookies were made for the low-carb Paleo Eater types, but they’re easy to turn vegan, too. Since no eggs were used in the making of these yummy nuggets, you can easily swap in coconut oil for the butter and maple syrup for the honey. Blam bam.

    I’ve included this in the recipe below, but these cookies cook up into two separate options. You have the melty-chewy option. If you like dipping your chocolatey, gooey cookies into a cold glass of coconut milk, you’re going to want to barely cook these babies. You don’t want to crisp or brown the edges. Pull them out at 7-8 minutes flat, and you’ll have that cookie that is begging for a dipping glass.

    Prefer a crisper cookie? Let ’em stay in the oven for 9-11 minutes, letting the bottom get crispy and golden brown before removing and cooling to room temp. You’ll have a cookie that rivals Chips Ahoy! only without all that crap you don’t want in your bod.

    So healthy, you can eat them for breakfast. So delicious, you’ll want to eat them for dinner.

    PERFECT PALEO CHOCOLATE CHIP COOKIES

    INGREDIENTS:

    8 tablespoons grassfed butter, softened
    1/3 cup honey
    1/4 cup coconut sugar
    1/3 cup coconut flour
    1 1/2- 1 3/4 almond flour
    1/2 teaspoon pure almond extract
    1/4 teaspoon mapleine (or maple extract)
    1 teaspoon vanilla
    1/2 bag mini chocolate chips
    1 teaspoon sea salt flakes

    DIRECTIONS:

    1. In a stand mixer, beat together butter, honey, coconut sugar, coconut flour, almond flour, extracts and vanilla, and chocolate chips.
    2. Beat until well mixed. The dough should follow the beater around the bowl, and be about the texture of playdoh. Add a little more almond flour, if needed.
    3. Add sea salt, folding it into the mixture.
    4. Roll 1/2 tablespoons of the dough into balls, then flatten and form into cookie squares. They should be about 1/4-1/2" thick. Place on a parchment-lined baking sheet. The cookies don't spread much, so feel free to place them fairly close together.
    5. Bake in an oven preheated to 350 degrees for 10-12 minutes. For extra crunchy cookies, bake until the edges are very golden brown.
    6. Cool before serving. Enjoy!

    Makes 24 cookies.


    In Recipes Tags dessert, paleo
    Comment

    Microwave Paleo Pumpkin Mug Pie

    October 10, 2014 Brooke Lark

    Pumpkin season is here. Hoorayyyyyyy.

    I know pumpkin can be a polarizing. Either eaters love it or hate it. I stand proudly on the side of pumpkin love.

    Like, literally. Can not get enough of it. See pumpkin cookies in the store, bend a knee, and bow. Stir it into waffles, put it into pancakes, buy it in Costco-sized pie.

    But Costco sized pies sitting on your countertops are total temptation.

    {%[Ihaveeatenoneinasingleafternoon<\}

    And so, I set out today to make a single-serving treat. A Paleo Pumpkin Pie for One. Made in two minutes.

    The results were divine. Pure ingredients. Simple things you already have. Microzapped until custardy.

    With a pecan crust, and a touch of honeyed blueberries, this sweet dessert is the perfect way to enjoy Pumpkin Season without enjoying the WorkYourGiantAss Out season which traditionally follows.

    PALEO PUMPKIN MUG PIE

    INGREDIENTS:

    4 tablespoons finely chopped pecans
    1/2 cup pumpkin
    1 tablespoons pumpkin pie spice
    1 egg
    3 tablespoons honey or maple syrup
    5-6 drops stevia
    1 tablespoon chocolate chips (if desired)
    Toppings: Honey-sweetened whipped cream, raspberries, or Blueberries

    DIRECTIONS:

    1. Sprinkle two tablespoons of pecans in the bottom of a mug.
    2. Drizzle with 1/2 tablespoon honey.
    3. In a small bowl, mix together pumpkin, pumpkin pie spice, egg, 2 tablespoons honey, and just enough stevia to make the pie filling sweet.
    4. Spoon into a ceramic coffee mug.
    5. Sprinkle with pecans and chocolate chips. Drizzle with honey.
    6. Microwave for 2-3 minutes, until the center is set.
    7. Cool slightly. Top as you desireth.

    In Recipes Tags paleo, dessert, autumn
    Comment

    How to Decorate a Pumpkin without Making a Mess

    October 7, 2014 Brooke Lark

    My youngest ran home from school the other day, thrilled to announce that the neighborhood greenhouse had put pumpkins out for sale. “Where’s my cash?!”

    He’s been saving money for a Halloween costume, but who needs a costume when there are pumpkins for sale?

    Um, lawwwd. Me.

    Jack-O-Lantern carving is one of those traditions I dread. It makes the kitchen messy. The kids start with elaborate plans, draw them, attempt to carve with dull knives, then abandon ship for episodes of Adventuretime, while I’m left digging slimy seeds out of the gut of a gourd. It’s a real blast, I tell ya.

    As the son was hunting his pennies, I started brainstorming. There had to be a way to decorate pumpkins without all the muss and fuss.

    The answer was in my pantry. A quick and simple approach to decorating we now call Sprinkle Pumpkins.

    Start with seriously simple things:

    • Rainbow sprinkles
    • Rainbow chip sprinkles
    • Candy eyes
    • Mini pumpkins
    • White Chocolate Chips
    • Ziptop Baggie

    Just microwave the white chocolate in a baggie until melted, snip a teeny tiny corner. Then gather your littles around, and invite them to create.

    Pipe the melted white chocolate onto the pumpkin and use it as glue for the candy eyes & sprinkles.

    You’d never guess it, but rainbow sprinkles come in a fantastic array of shapes and sizes. Some are straight. Some are long. Some are smiley. Turn the smiley’s upsidedown to make a frown. These tiny little toppings inspire a million simple little faces.

    Sitting around the table with tiny bowls of sprinkles, combing through them to find the most inspiring smile or eyelash elevated this activity to art therapy. It’s thoughtful and fun. Simple enough to ignite creativity, because you’re so limited in medium of expression.

    And just so you don’t think I’m waxing overly poetic, here’s a peek at just a few of the combos ma kids conjured….

    There was the Thoughtful Professor

    There was the Thoughtful Professor

    …the Miranda Sings!&nbsp;pumpkin…

    …the Miranda Sings! pumpkin…

    …the Outta-This-World Gourd….

    …the Outta-This-World Gourd….

    …the Friendly Neighborhood Loonycat….

    …the Friendly Neighborhood Loonycat….

    …Zen Pumpkin who apparently just cleansed her Third Eye Chakra…

    …Zen Pumpkin who apparently just cleansed her Third Eye Chakra…

    …and the pumpkin wherein I wonder if I can keep this up every year, instead of scoopy mealy seeds from those tingly squash innards.

    …and the pumpkin wherein I wonder if I can keep this up every year, instead of scoopy mealy seeds from those tingly squash innards.

    A quiet, art activity that all the kids could do. Plus, 2-minute clean-up? I’m ready to make this the thing we do for every holiday ever.

    Sprinkle Fruitcakes, anyone?

    In DIY Tags home
    Comment

    Bulletproof Pumpkin Spice Latte

    October 6, 2014 Brooke Lark

    I’m an absolute sucker for cult-fad diets. I’ve survived 10-days on the Master Cleanse, sucking down nothing but cayenne lemonade and maple syrup. I’ve done Juice Fasts and taken Smoothie Challenges. Been Vegan. Gone Paleo. Tried the South Beach Diet. And spent a month Fat Flushing.

    So, when I heard about the Bulletproof Executive’s approach to Bio-Hacking, with the most intensive part of his program involving  a single cup of butter-blended, high-fat Bulletproof Coffee in the morning and 18-hours of daily fasting, I was all sorts of up to trying the diet on.

    The Boyfriend and I printed out his blueprint, bought ourselves some grassfed butter, and dove into 30-days of high-fat, low-carb, Bulletproof Coffee existencing.

    How’s it been? Stay tuned for a recap post! We’re still in the middle of it all, but when it’s ova I’ll recap.

    In the meantime, waking up to a cup of coffee is a happy affair. The boyfriend loves the creamy, latte-like goodness of classic Bulletproof. But, me being a food tinkerer and autumn lover decided to add a little oomph to the traditional, turning Bulletproof Coffee into a steaming, homemade mug of Bulletproof PSL.

    Because. Pumpkin. Spice. Latte. Done Healthy.

    It’s totally a thing.

    THE SECRET INGREDIENT: MESQUITE POWDER

    In the printable recipe below, you’ll see a fairly simple list of ingredients. MCT oil may sound like an unfamiliar, odd little add-in. But, it’s basically Coconut Oil + Palm Oil.  An uber-healthy, high-energy promoting oil that remains liquid. If you’re a fan of coconut oil, you know it hardens up at room temperature. MCT oil doesn’t. It stays smooth and pourable, making it perfect for beverages. You’ll be able to find MCT oil in the supplement aisle of Whole Foods.

    Mesquite Powder may also be an unfamiliar ingredient. I was initially turned off by the name, assuming it had something to do with Barbecue. But, Mesquite Powder is actually a sweet, caramelly powder made from ground pods.

    My favorite version is sold by Essential Living Foods. This company is the new face of gorgeous superfoods. If you want incredible, high-nutrient food in gorgeous packaging, go.visit.their.website. And, buy.one.of.everything.

    In this recipe, Mesquite Powder adds a pop of natural sweetness, and tons of delicious caramel flavor. When people say “healthy” and “delicious,” I think it’s easy to feel dubious. Like, when was the last time you were reccomended a “Superfood Powder”, or smoothie powder, or greens powder, or protein powder that didn’t make you gag just a little? I promiseswear, Mesquite Powder is instantly delicious. Think of it like a vanilla bean had a baby with a carob plant, and you’ve got some idea of the natural goodness of Mesquite Powder.

    On top of pure flavor wonder, 1 Tablespoon of Mesquite Powder also adds: 

      • 3g Protein
      • 36% of Daily Dietary Fiber
      • High in Lysine & other Amino Acids
      • Low Glycemic Index, which means sweetness without a blood sugar spike
      • Calcium, Magnesium, Potassium, Iron and Zinc

    If you’re looking for a delicious way to kickstart you morning, satiate hunger cravings, and sip more superfoods. Don’t head to the ‘Bux! Make this delicious Superfood Pumpkin Spice Latte at home, and enjoy all that classic PSL flavor, and none of the naughtiness.

    Made this at home? Trying Bulletproof, too? Leave me a comment! I’d love to know how it’s all working for you!

    BULLETPROOF PUMPKIN SPICE LATTE

    INGREDIENTS:

    1 cup hot brewed coffee
    2 tablespoons grassfed butter
    1 1/2 tablespoons MCT oil
    2 tablespoons pumpkin puree
    1 tablespoon Mesquite Powder
    1 teaspoon maca powder (optional)
    1 teaspoon pumpkin pie spice
    2-3 drops stevia

    DIRECTIONS:

    1. Place all ingredients in a Vitamix.
    2. Pop the top, center plug out of the Vitamix cover.
    3. Blend on high for 30 seconds.
    4. Pour into a mug & enjoy!

    In Recipes Tags autumn, paleo, breakfast
    1 Comment

    CHEATER CHOW MEIN

    October 1, 2014 Brooke Lark

    I made this recipe a few weeks ago, and it was one of those dinners that found four kids standing over my shoulder.

    “Mom! When’s it gonna be done?!”

    “Mom! That smells so good!”

    “Mom! What is it? That looks amazing!”

    Let me here now confirm to you that this never happens in my home. Despite the fact that I am a certified foodie for everyone from Disney to Good Cook, YourTango to Yuri Elkaim, I was still gifted with the sort of children that believe Kraft Mac & Cheese is an ideal breakfast, and ramen is an ideal dinner.

    So, when me standing at the stove actually draws the children forward rather than repulses them, I know I’m onto something special.

    And this quick dish really is delish. It’s one of those crazy-simple recipes. From start to finish, I bet it took me 7 minutes flat. That’s not even enough time to get four children to set the dinner table. But then again, getting children to set the dinner table prolly takes more time than I ever have.

    We served this dish alongside a pan of Dragon Noodles. Pulled out chopsticks. Sipped sake from tiny cups.

    Wait.

    That part was just me.

    Then, I shouted at the kids to clean up the dinner table they hadn’t set in the first place. To which they responded with the same timely manner in which they do all cleaning. Let’s just say cleanup wasn’t as fast as the cooking… ;)

    GOING GLUTEN-FREE

    As you’re whipping up this quick dish, you’re going to love the flavors. But you can rejoice that it’s gluten-free and fabulous. Cutting white-flour carbs has been a key part of me healing myself from adrenal fatigue. It’s also meant evenings without bloating and gas.

    And, lord almighty, while I know popping the term “gas” on a food blog is like breaking wind during yoga, I haveta drop it because. Guys. Girls. If you hit the end of the day, and your body is bloaty…your body is begging for help. I can’t count of the number of nights (for years on end) when my post-dinner gut led to all-evening fumadoring. And not in the sexy smoking jacket kind of way. I was just plum stanky. And I couldn’t figure it out.

    Until I started dropping gluten. Cutting noodles. Quitting cupcakes. I always thought food allergies were for those crazy overbearing mothers who pull peanuts out of the hands of little children, and read romance novels while wearing sweatpants. I didn’t have rashes or itches. I wasn’t dealing with debilitating pain or stomachaching. But, obsessed with diets as I am, I decided to try the paleo approach, and started noticing a huge difference.

    No more bloating (unless I sneak eat).

    No more gas (unless I cheat).

    Flat, happy belly (unless I cupcake).

    Of course, changing our daily recipe repertoire hasn’t always been easy. The kids want spaghetti and pizza and ramen and kraftmac. Those foods are simple to prepare, and cheap as all get out. But, we’re finding our way around foods we all like to eat. You’ll keep seeing more and more of those here. Triple Threat Eats, as I like to call them: quick, cheap, healthy.

    And in the meantime, consider this today’s PSA. If you’re dealing with the food blues at night, it’s probably not your body–it’s your food. Cut the flour, beans & rice stuffs for a week, eat good stuff (like this Cheater Chow Mein), and see if you don’t feel a change.

    Then come on back here and tell us about it. Going grain-free was never on my list of life plans, but I’m feeling quite glad about it all these days.

    So is my bellygut.

    CHEATER CHOW MEIN

    INGREDIENTS:

    2 tablespoons coconut oil
    1 tablespoon garlic-ginger puree
    1 chicken breast, cut into very thin strips
    2 cups bean sprouts
    3 green onion (scallions) stalks, cut into 2” pieces
    3 tablespoons tamari (or Braggs aminos)

    DIRECTIONS:

    1. Grab a wok
    2. Melt coconut oil in wok, over medium-high heat.
    3. Add garlic-ginger puree and chicken breast to the woke.
    4. Cook until no longer pink.
    5. Toss in bean sprouts and green onions.
    6. Sautee until softened, about 1-2 minutes
    7. Sprinkle tamari, stir.
    8. Serve and enjoy! 

    Makes 2 servings.

    In Recipes Tags dinner, paleo, 5 ingredient
    Comment
    ← Newer Posts Older Posts →
    meetyourhostess.jpg
    Search by Category
    • #foodforlife
    • 2 ingredient
    • 3 ingredient
    • 4 ingredient
    • 4-ingredient
    • 5 ingredient
    • Bobs Red Mill
    • Branding
    • Breakfast
    • Coffee
    • Copywriting
    • Creative AF
    • Emails
    • Facebook
    • Food Photography
    • Freelance
    • Giveaways
    • How to Cook Like a Food Stylist
    • Instagram
    • Keto
    • Kickstart
    • Lunch
    • Media
    • One Pan
    • Photography
    • Props
    • Salad
    • Self-Made Creative
    • Social Media
    • Staples
    • Style
    • Udo
    • appetizer
    • autumn
    • baking
    • beverage
    • bowl
    • breakfast
    • bundts
    • business
    • cake
    • casserole
    • chocolate
    • christmas
    • church food
    • cocktail
    • crockpot
    • dessert
    • detox
    • din
    foodphotographer.jpg
    freephotos.jpg

    "The Most Motivating Messages I GET ALL WEEK!"

    Wish you had a Creative Sherpa to guide you through the madness that is building your own creative brand? Signup for my “3 Things Creatives Need to Know This Week” and I’ll deliver the best darned everythings straight to you, with hugs and smooches and hell yes’s, too.

    We respect your privacy.

    Thank you!

    PLEASE NOTE: Blog posts & site pages contain affiliate links.