

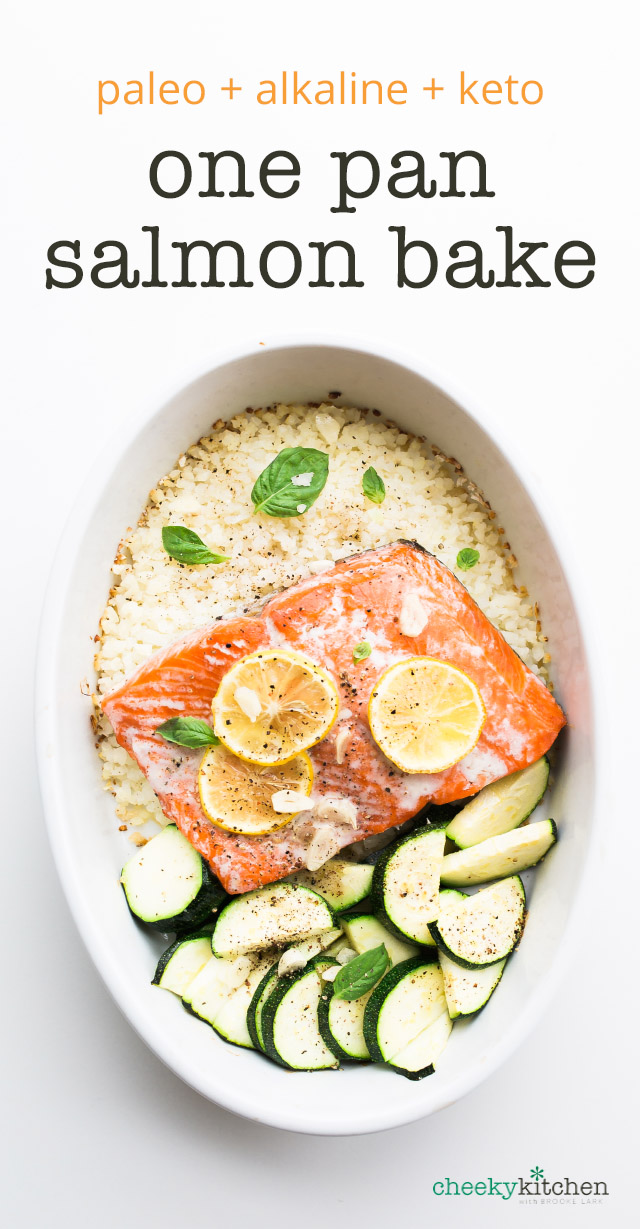
Toss salmon and two tasty sides into one pan, drizzle with a scrumptious herbed coconut oil and bake. Dinner is done, dude!
Read moreArugula Chicken Salad

My favorite go-to quickie lunch! Arugula Chicken Salad takes, like, seconds to prep and requires only 4-ingredients. Hello, Rocket Fuel!
Read moreThe Only Green Smoothie Recipe You’ll Ever Need
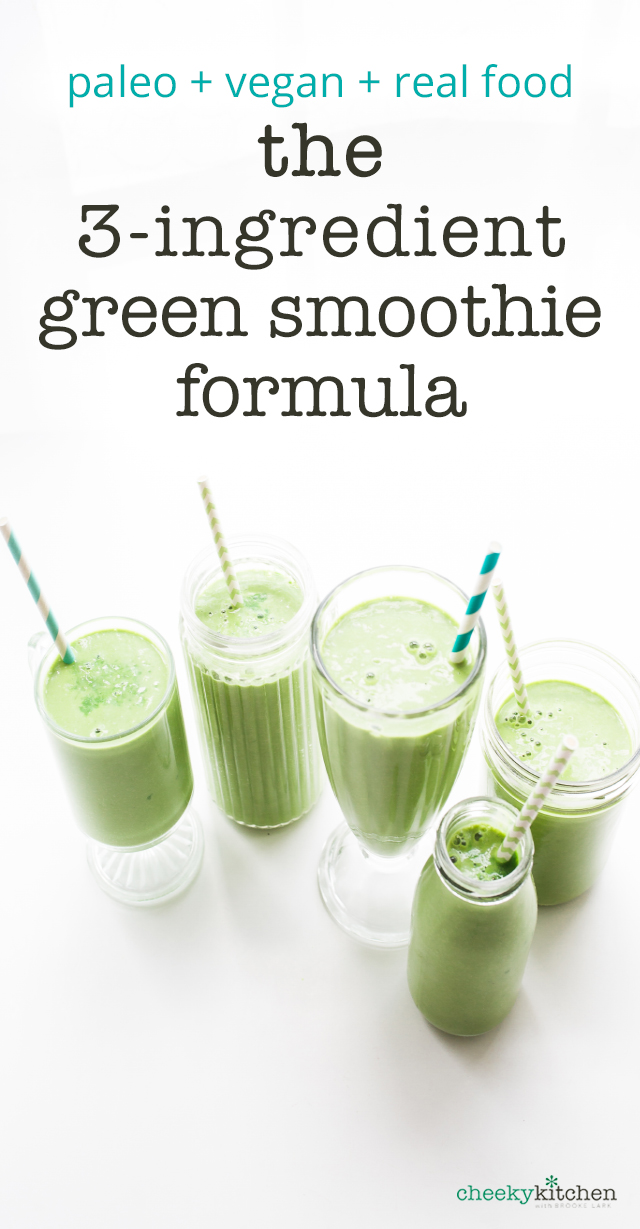
Once you know the formula for the perfect green smoothie, you can mix and match to create new favorite flavor combinations with season fresh produce you have on hand.
Read moreACV Salad Dressing

I know there is an entire slew of humans who've already boarded the ACV bandwagon. But if you, like me, are slow to know the science behind nutritional powerhouses, let's chat a sec.
Apple Cider Vinegar--particularly the unfiltered stuff (like Braggs) is linked to dozens (or, if you believe the internets...hundreds) of remarkable benefits. An excerpt from the Braggs folks themselves...
The versatility of ACV as a powerful body cleansing agent is legendary. It’s been traced to Egyptian urns as far back as 3000 B.C. The Babylonians used it as a condiment and preservative, while Julius Caesar’s army used ACV tonic to stay healthy and fight off disease. The Greeks and Romans kept vinegar vessels for healing and flavoring. It was used in Biblical times as an antiseptic and a healing agent and is mentioned in the Bible. In Paris during the Middle Ages, it was sold from barrels by street vendors as a body deodorant, healing tonic and a health vinegar drink.
Even Christopher Columbus and his crew on his voyage to discover America in 1492 had their vinegar barrels for prevention of scurvy as did the soldiers in the American Civil War. For centuries in Japan, the feared Samurai warriors drank it for strength and power. ACV has been used for thousands of years not only for health reasons, but also as a cleansing agent to remove bacteria, germs, odors, and even stains and spots. (via Apple Cider Vinegar: Miracle Health System)
Needless to say, with so many promising body boosts, I've started adding ACV more regularly to our daily eats. And this is one of the easiest ways.
A simple salad dressing that goes on everything, tastes good on everything, and even works as a marinade. Based on my classic French-inspired Perfect Vinaigrette, this one is worth adding to every salad you've ever made ever.

ACV Salad Dressing
Learn more about this recipe on Instagram @cheekykitchen
My go-to dressing. This stuff tastes great on everything. Prep a big ol' mason jar of the stuff and keep it in the fridge for quick drizzling.
Makes 1 cup | 5 Minutes
- 1/2 cup apple cider vinegar
- 1/2 cup avocado oil or olive oil
- 3-4 garlic cloves, very finely chopped
- Salt and pepper to taste
Mix all together. Keep in fridge until ready to use.
FLAVOR TWISTS
- Add herbs. Upgrade the flavor with fresh chopped cilantro, basil, rosemary or chives.
- Add flavor. Toss in any savories (like green, sweet or purple onions ,or diced shallots) or add a small amount of fresh citrus or flavored olive oil for a flavor swap.
- Make it sweet. Add a bit of raw honey, agave or pure maple syrup, if using sweeteners, for a sweet twist.
Butternut Zoodle Hash (Grain-Free, Paleo, Keto)

Gluten-free, grain-free, paleo, keto. But who cares about that? It's breakfast! And this bowl, made with butternut zoodles is a simple, healthy eat you can get behind!
Read moreSummer Rice & Cilantro Steak Bowl

Cilantro Cauliflower Rice, Steak, Avocado, Nectarine. This bowl is life. It's also keto, paleo and yummo.
Read moreSausage & Squash Breakfast Skillet

You know, the genesis for the entire #FoodForLife cookbook project started with breakfast.
Friend Ericka posted a picture to Facebook. Giant, swirling cinnamon bun on one plate, browned up bison burger on the second, a caption that read: "Their breakfast vs. my breakfast. I have had to cut out eggs (and nuts). They were causing a lot of inflammation in my gut and all over. Since cutting them out just this week I have noticed a huge difference in how I feel. I'm still trying to figure out breakfast since eggs were life 😫. For now it's, no dairy, no eggs, no legumes, no nightshades, no nuts, no sugar, no gluten, no grains..."

And you know me. I love me the pure food diet conjuring.
Took one read of that caption and sent Ericka an email, begging to get in on her bison-puck breakfast.

Except, actually. Not quite that.
I actually messaged her and made her promise to let me join her in her Elimination Eating (so I could actually start fitting back into my jeans after too many lazy days of beer and pasta eating), so long as I could create all new, gorgeous-pants recipes that she'd actually want to eat.
Aka: no more big, brown bison burgers for breakfast. That's just sad.

You know the rest of the story. One week later, we were in my kitchen, churning out an entire cookbook of real food, gluten-free, grain-free, sugar-free, stupid-free recipes.
And this deliciously simple little skillet is one of them.
Zucchini. Chicken sausage. Basil and flake salt and nothing but pure, simple beauty for your bellygut.
Toss the waffles, sweet ones. This simple paleo-friendly, keto-lovin' skillet will fill your soul. And keep you from aching craving all morning long.
But, who cares about the benefits? Because, at the end of the day, this skillet is so good, you'll just want to eat it for the yum.

Sausage & Squash Skillet
Learn more about this recipe on Instagram @cheekykitchen
Makes 2 skillets | 15 minutes
- 1 Tbsp coconut oil
- 2 cloves garlic, finely chopped
- 1 summer squash, diced
- 1 zucchini, diced
- 6 links nitrate-free grassfed chicken or turkey sausage
- Fresh chopped basil for garnish (optional)
- Salt and pepper to taste
In a skillet, melt coconut oil over medium-high heat. Toss in garlic, cooking until aromatics, about 30-60 seconds. Add squash, zucchini and sausage, cook until sizzling. Salt and pepper to taste. Garnish with basil, if desired.
Try These Twists:
- Add Bacon
- Try Ground Beef
Sweet Potato & Plantain Pancakes

Gluten-free, grain-free, egg-free plantain pancakes. Made in the blender. Because you should feel beautiful after breakfast.
Read moreZen Burgers
I don't really like tuna. Wellll, clarification: a big hunk of seared albacore, pink in the middle, served atop spicy greens? Sign me up. But a can of metallic chunky stuff, with that fishy aroma that sticks like a bad batch of Jean Nate perfume? Gah. No. Never.
This has been my general approach to grocery shopping. Chicken? Check. Beef? Check. Tuna? Pass. Though my tots will, from time to time, be willing to choke down a tuna sammy, they're uncommon in our casa. Because fingers and garbage cans and kitchen counters that smell like fish are just a mongo no-no in my book.

So, imagine my surprise to discover: that fishy, aluminum smell and savor isn't a sign of tuna. It's just the sign of meh tuna. Stuff canned for unpicky consumers. Stuff stuck into a tin and set on store shelves without a second thought.
But it's not the sign of a proper, premium tuna.
Did you know this? Not all tuna tastes fishy. In fact, truly good tuna tastes downright light and tender. Savory and rich. And as far as I can tell, there's one brand that really knocks a proper canned tuna out of the...well...tuna can. Takes it and makes it downright delicious. Elevates it to an experience so close to om, you have to close your eyes and yummm.
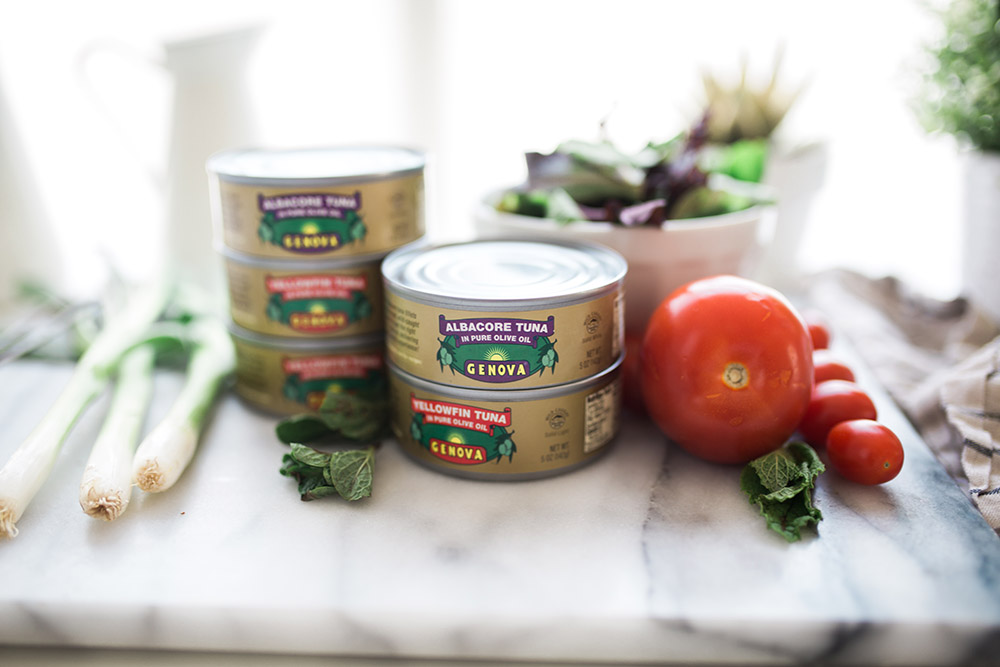
Enrobed in a golden wrapper, Genova Tuna is, hands down, the best tasting tuna I've ever ever.
It's not yo' mama's tuna.
It's not yo' soggy sandwiches tuna.
It's not yo' i-just-don't-like-tuna tuna.
It's the stuff of pure delicious. Light, flaky, wild-caught. Wonderful. One taste and you'll never want to eat another brand.

When a pack of Genova Albacore and Yellowfin Tuna arrived on my doorstep last month, I was dubious. We had our feelings about tuna, darnit! We had opinions about tuna, dagnabit!
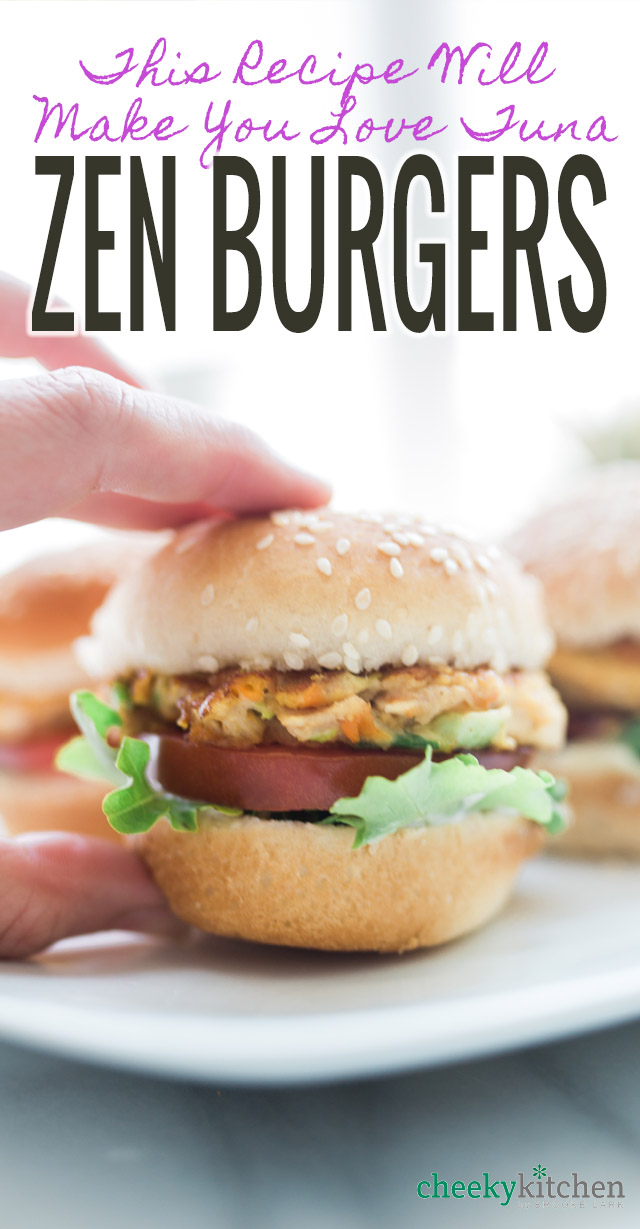
But anyway. We opened. We whiffed. We whisked and stirred and pulled together a batch of mini tuna sliders. Only, we don't call 'em such things around these parts. After tasting Genova, we durned when and called 'em Zen Burgers because. Seriously. Om Em Gee. Bliss. Serendipity. Enlightenment of the mouth and bellygut.
Want to see my legit real, actual reaction to first-time tasting these burghas? Check out the video above. My eldest son was videomaking and you can actually hear him snort-chuckle in the background when I can't stop eating and declaring this one a win win win.
I mean, who knew? WHO KNEW canned tuna could taste this amazing?
Join me in bringing awareness to tasty tuna by snagging a can or four of your own. Check here to see if Genova is carried in a store near you, or ship an order straight to you via Amazon. Then, give this recipe a try and post a pic #tastegenova
One bite, and you'll be a believer.

Zen Burgers
4 sliders | 20 minutes
- 1 (5 oz) can Genova Albacore Tuna in Olive Oil
- 1/2 cup chopped green onions
- 1/2 cup shredded carrots
- 1" piece fresh ginger, peeled and grated
- 1 egg
- 1 Tbsp soy sauce
In a large bowl, mix together all ingredients. Press into four patties, fry in a nonstick skillet, cooking on medium-high on both sides, until patties are golden. Serve on slider buns with mayo, lettuce and sliced tomato.
This post was sponsored by Genova Seafood. I was paid for my creative work, recipe development, videography and photography. All opinions are mine.
Crispy Garlic & Mushroom Spring Salad

Fried mushrooms, crispy garlic and springtime mache. A perfectly simple, perfect salad.
Read more5-Ingredient Cherry Turmeric Bliss Bowl

Cherry Turmeric Bliss Bowl. Because the best green smoothies are beet pink.
Read moreMy Lose 10-Pounds in 10 Days Diet
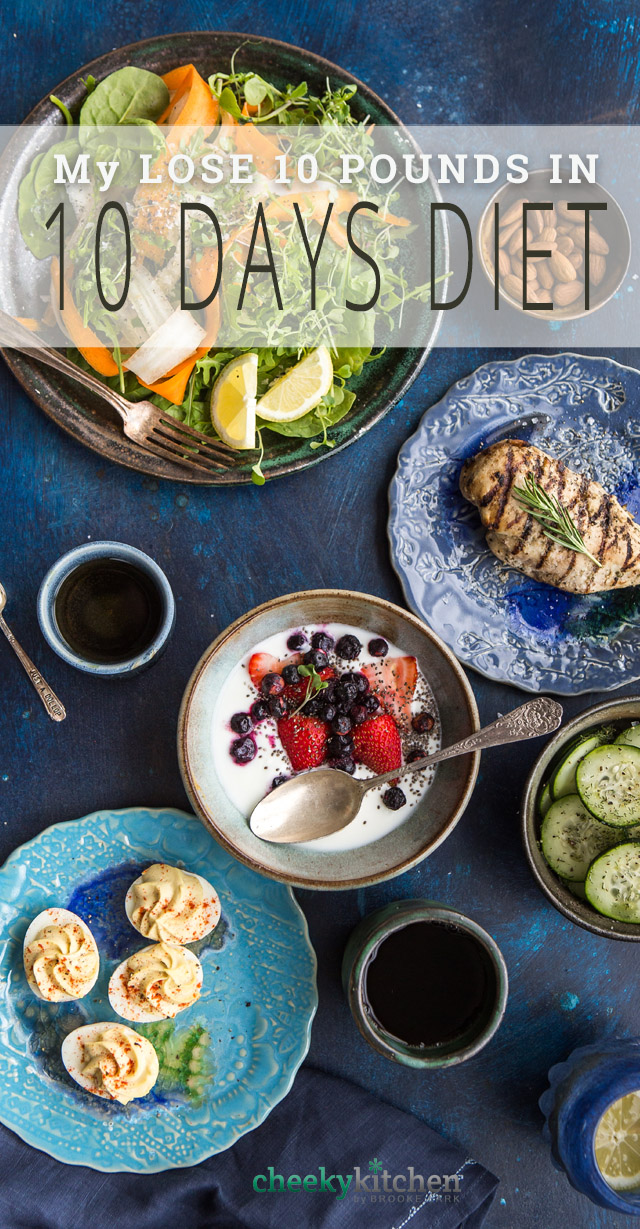
I decided to lose 10 pounds in 10 days. Here's what I ate.
Read more4-Ingredient Green Smoothie Belgian Waffle

Eat your green smoothie. Waffle style.
Read more5-Ingredient Protein Breakfast Chocolate

I love healthy food. But I don't always love eating healthy. Mostly, I crave chocolate and Trader Joe's Scandinavian Swimmers. But that is a secret I don't divulge online.

So this morning, in a fit of breakfast rage, I realized I didn't want to eat an egg or banana or smoothie. I wanted to eat chocolate.
So I made breakfast chocolate. In the blender. It's high protein, just a smidge of sugar. And it's freaking delicious. But don't take my word for it. Make chocolate. Eat breakfast. You deserve.

5-Ingredient High Protein Breakfast Chocolate
Read more behind-the-scenes story of this recipe on Instagram @cheekykitchen
4 servings | 10 minutes
- 3/4 cup creamy maple almond butter (vanilla or chocolate works, as well)
- 1 scoop plant-based chocolate protein powder
- 2 Tbsp raw cocoa powder
- 2 Tbsp chia seeds
- 1 Tbsp coconut oil, melted
- stevia (optional)
Place all ingredients in a blender. Blend until smooth. (If mixture isn't soft enough to form a thick, doughy ball, add melted coconut oil 1 tsp at a time until the right consistency). Form into a 1" high rectangle. Refrigerate or freeze until firm. Slice into 8 squares. Enjoy with coffee.
FLAVOR BOOSTERS: This simple recipes benefits from all sorts of easy add-ins. Try one of these:
- Mocha Chocolate. Add 1 Tbsp coffee grounds
- Vanilla. Add 1 Tbsp vanilla bean paste
- Double Chocolate. Fold in 2 Tbsp mini Enjoy Life! chocolate chips
- Plant-based Protein. Add 1-2 Tbsp hemp hearts to the blender.
- Crunchy Coco. Add 2 Tbsp cacao nibs to the blender.
- Sea Salt & Chocolate. Add a generous pinch of Maldon salt flakes to the blender.
4-Ingredient Coconut Crunch Rawnola

Forget that glutenny, high-carb granola. This instanto Rawnola is uber times better. And so easy.
Read more4-Ingredient Ginger Peach Smoothie

The Easiest Real Food Breakfast You've Ever Made.
Read moreKale Keto Caesar
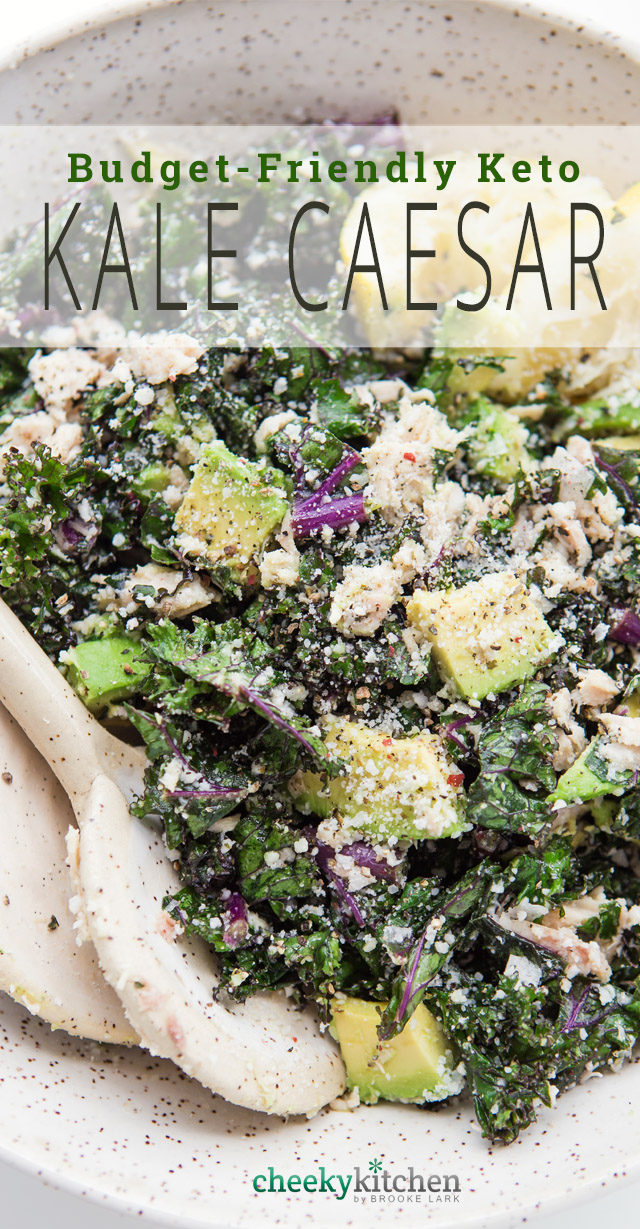
Eat greens. Not carbs. This Quick Kale Keto Caesar is 'bout to make your jeans--and your wallet--durn happy.
Read moreHow to Make a $20 Rustic Backdrop for Food Photography in 20 Minutes

Create a rustic backdrop for dark food photography. In just 20 minutes. For just $20. Here's how.
Read moreHow to Make a DIY Rustic Backdrop for Dark Food Photography--in Under 1 Hour, for Under $30!
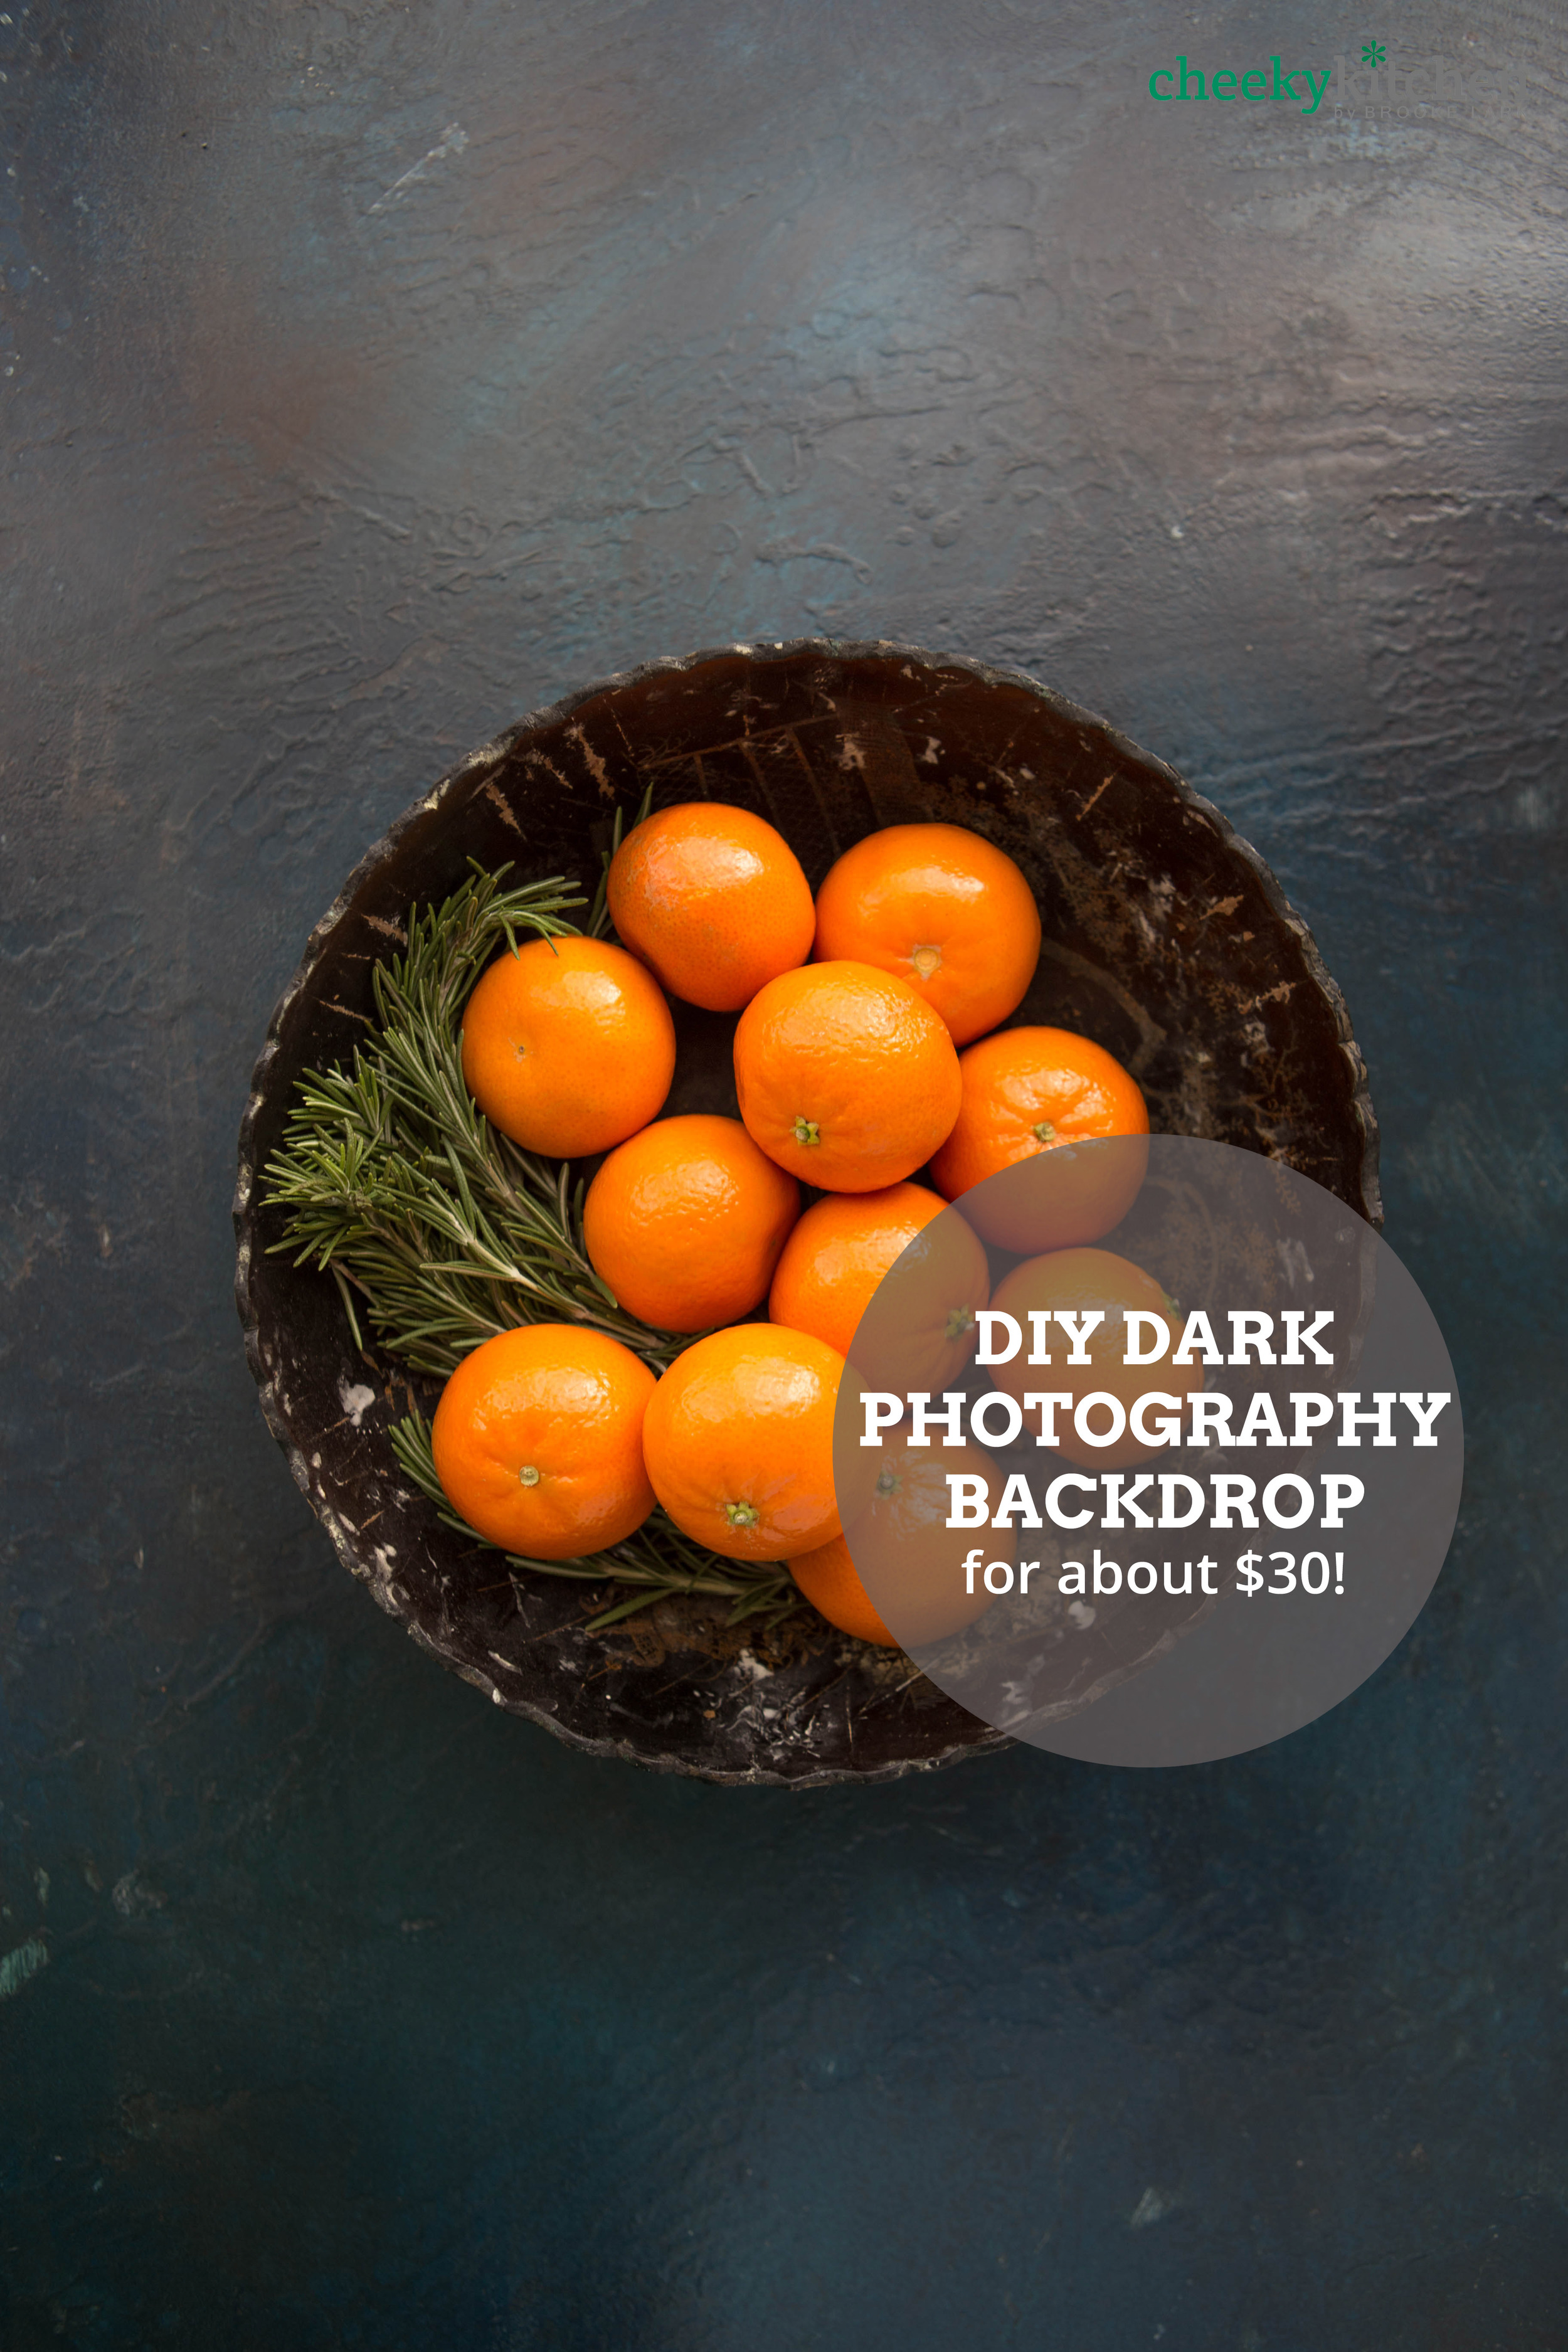
In a recent YouTube video, I mentioned the metal sheet photo backdrops I've been using for months. Tired of lugging heavy wooden backdrops out every time I needed a scene change, I started hunting for a simpler solution, and discovered large galvanized steel sheets worked like a charm.
One large sheet, priced about $16/piece can be easily snipped into two with tin shears, roughed up with steel wool and painted with a combo of spray paint and metallic oxidizing paint to create stunning, totally original (totally gorgeous!) backdrops that rival those used by some of the hottest food photographers on Instagram.
Though there are dozens of different methods (I promise to share them all with you eventually!), I wanted to demonstrate one super-quick, simple-simple technique that will get you started with your own set of steel backdrops.
Tune in below as I show a throw-it-all-on, paint-it-all-fast, one-coat, kitchen-sink painting technique, which costs about $30 in materials and takes less than an hour from start to finish.
Supplies Needed
- 3'x4' Galvanized Steel Sheet, cut in half with tin shears (available in the plumbing/metalwork section of Home Depot or Lowes). You can also buy a 2'x3' sheet online here OR use an Aluminum Sheet.
- Extra Coarse Steel Wool
- Inexpensive Paint Brushes
- Bleach spray or water (I didn't really mention in the video why I use bleach spray. When looking for ways to create chemical reactions with the steel and metallic paint, I started playing with a bleach-water solution. Now I grab whatever I have in the house. NOTE: always work outdoors, in a well ventilated space. And I do 100% recommend wearing a mask and gloves)
- Brown Spray paint (I used Espresso)
- Blue Spray paint (I used Gloss Navy, Ocean Breeze and Turquoise)
- Modern Masters Oxidizing Metallic Paint (I used Bronze, but also recommend Copper)
- Modern Masters Aging Patina Solution (I used Blue, but also recommend green)
- Crystal clear spray-on varnish in matte
Technique
Whether you're making one sheet at a time, or knocking out a whole batch, here's the basic technique for this look.
- Cut a galvanized steel sheet to the desired size. (I prefer 2-3' x 4' sheets)
- Line the edges of the sheet with duct or electrical tape.
- Cover your work area with a plastic dropcloth or sheet.
- Spray a thick, heavy coat of dark brown (Espresso) paint on top of the steel sheet.
- Working quickly (you don't want the paint to dry!), spray your sheet lightly with a water (or water-bleach, or water-salt) solution and spray several uneven coats of blue on top, adding water between coats. (NOTE: Don't want blue? No problem! Try black, different colors of brown, bronze, etc. Let your imagination go wild!)
- Again, working quickly, pour about 1/2-1 cup of Modern Masters Bronze on top of the sheet, drizzle about 1/4-1/3 cup of Modern Masters Blue Patina solution into the bronze, then use a paint brush to quickly spread the paint in straight lines across your sheet.
- Spray lightly with water solution.
- Allow to dry in the sunshine.
- Once dry, steel wool to give it a rustic aged look, or coat again with paint until you love the way your background looks.
- Spray with a heavy layer of matte varnish. (FYI I do not recommend eating foods that have directly touched these backdrops.)
The Final Look
After a few minutes of painting and an hour of drying, I was ready to add this backdrop to my collection. Here's what this pretty kitty looks like in food shots.

Tried This Technique?
I would LOVE to see it! Upload a photo to Instagram with the hashtag #cheekykitchen. I'd love to show my Instafans your work! Are you following me over there? I give daily photo tips that you need in your life.
Got a Food Photography Question?
Shoot me an email! I'd love to address your burning questions in my next YouTube video!
My Works-Every-Time Lightroom Editing Settings for White Food Photography

99% of my food photography is edited in Lightroom. The tool is incredibly simple to use, and incredible powerful. Learning to use it was a breeze. And though you hardly need a tutorial to pop in and start playing with the settings, over the years I've honed my control over the final look of my photos.
After using Lightroom over and over again, I started noticing a pattern. Though every photo certainly begs for a personal touch, there were edits I was always making. The same settings being tweaked in the same ways. Before long, I found that this same pattern was consistently creating perfect photos everytime.
So I turned it into a tutorial. And then, I turned it into a Preset. (Which you can download for FREEEEE at the bottom of this post.)
Get My Favorite Filter Now. It's FREEEEEE!
Since I use these settings over and over again, I've turned them into a Lightroom preset. Just one click, and I can apply them to any photo instantly. It's so easy!
Let's make your life easy, too. If you want my fave filter preset, just click the button below. I'll send you the file and even give you supereasy step-by-step instructions for installing the preset. Because, some of us are tech terrified, but this process is sooo simple, you don't have to be. Promise.
TRIED THIS TRICK?
If so, I'd love to see your photos! Upload a snap of your shot on Insta and tag me @cheekykitchen. Totally can't wait to see how this worked for you.
